Map custom attributes
You can map custom attributes that are not included in the default profile. Using the proxyAddresses attribute as an example, the following instructions explain how to map custom attributes.
Start this procedure
To map custom attributes, you need to:
1. Add a custom attribute to your Okta Active Directory profile
2. Add the Attribute to your Office 365 App Profile
3. Map from Okta to Office 365
1. Add a custom attribute to your Okta Active Directory profile
-
In the Admin Console , go to and select the desired AD profile.
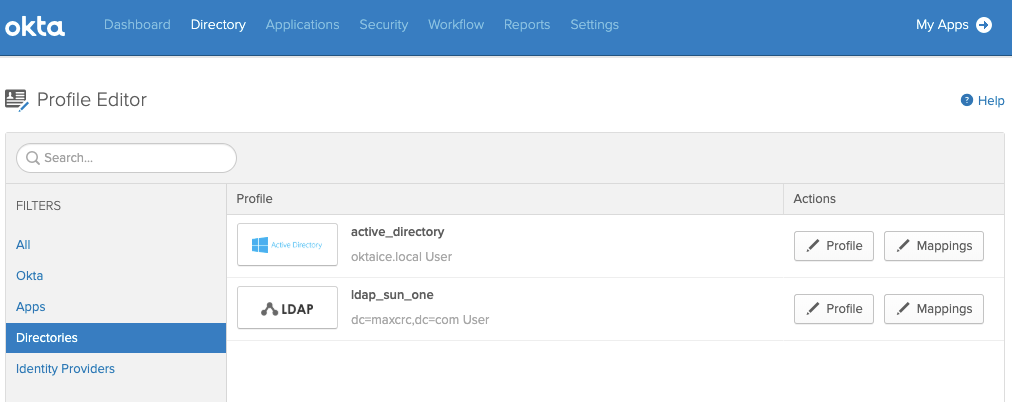
- In the Profile Editor, click the Add Attribute button.
The Pick Schema Attributes screen opens.
-
Search for, then select the
proxyAddressesattribute.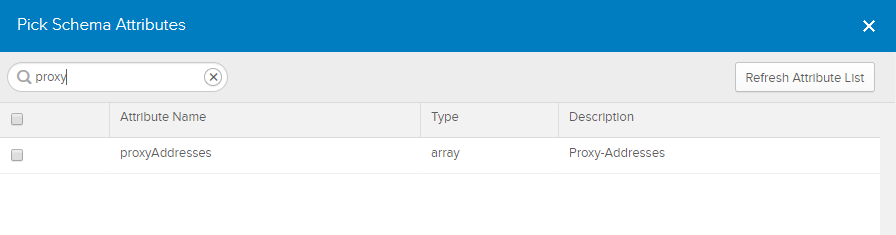
- Click Save.
2. Add the Attribute to your Office 365 App Profile
-
In the Admin Console, go to and select the Office 365 profile.
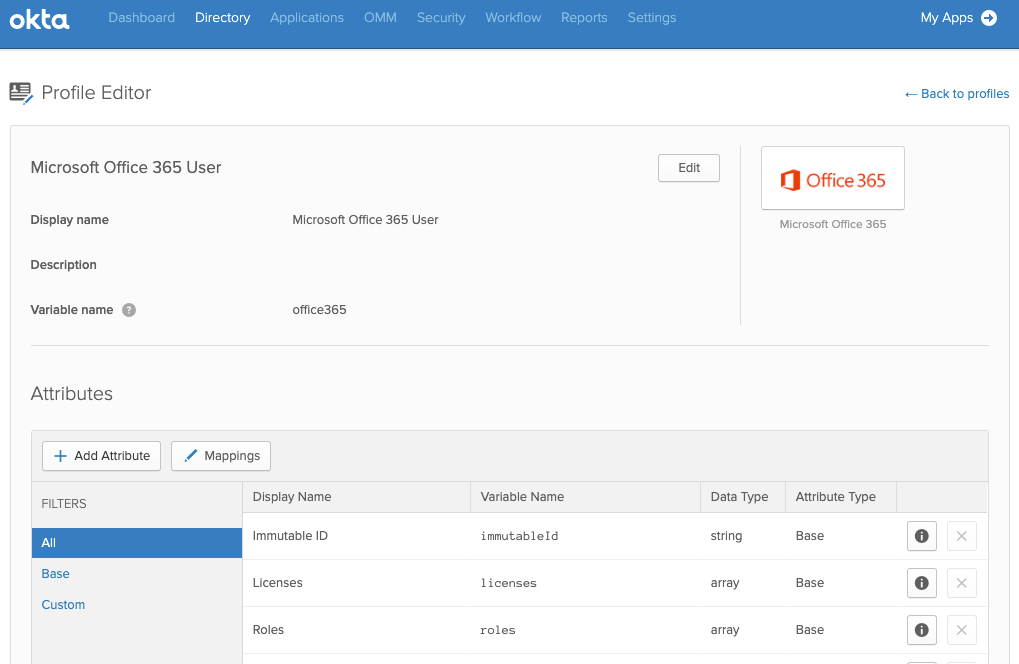
- In the Profile Editor, click the Add Attribute button.
The Pick Schema Attributes screen opens.
- Search for, then select the
ProxyAddressesattribute. - Click Save.
3. Map from Okta to Office 365
- In the Microsoft Office 365 Profile Editor, click Mappings.
The Microsoft Office 365 User Profile Mappings screen opens.
- Select the Okta to Microsoft Office 365 tab.
- Scroll down and enter the following expression for the
proxyAddressesattribute:>hasDirectoryUser()?findDirectoryUser().proxyAddresses:null
-
Click Save Mappings.
- Select Apply updates now so that the new mappings apply to all users with this profile.