Test the Cisco RADIUS ASA VPN integration
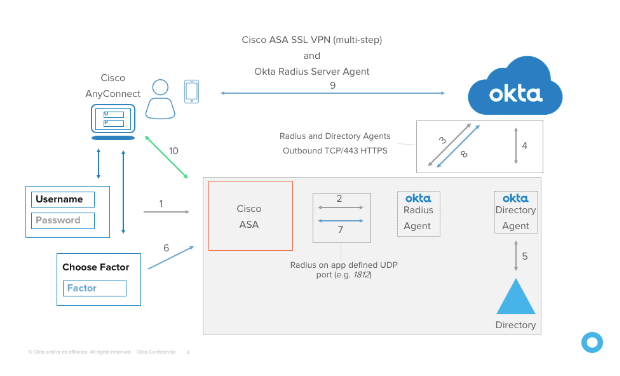
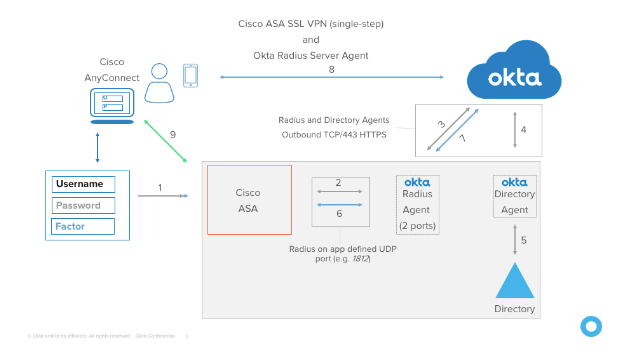
Testing the Cisco RADIUS ASA VPN integrations involves two configuration tests: Single step and two-step flows. The following network diagrams represent these flows.
Flow diagrams
Network Diagram – Multi-step Flow
Network Diagram – Single-step Flow
Verify the Cisco ASA VPN Appliance is properly configured to work with Okta (two-step flow)
There are two parts to this test.
Part 1 – Test SSL-VPN with Cisco AnyConnect
- Open Cisco AnyConnect and click Connect
- Enter your Username, Password, and a Group (optional). Click OK.
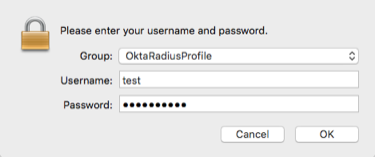
- The username must be in the format you specified when you added the app in Okta in Part 2, above.
- If configured, you concatenate the Password with a one-time password (OTP) or a keyword; for example Password1,123456, Password1,push, or Password1,sms, as follows:
- 123456 – code from Okta Verify, Google Authenticator, or Yubikey OTP
- push – trigger push notice to enrolled phone
- sms – trigger sms to enrolled phone
- other – any other configuration
- If you receive the Login Failed screen, check you username and password and try again.
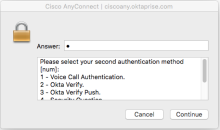
- When the challenge screen appears, enter the number that corresponds to the appropriate second factor and click Continue. Follow the prompts to enter the second factor challenge.
Users are challenged for a second factor to use based on the devices they have enrolled.
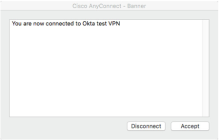
- After successfully completing the challenge, you are connected and see the following screen:
If you enter an incorrect value or take to long to respond to the push notification, AnyConnect displays the following screen:
Test the clientless VPN with the AnyConnect web portal
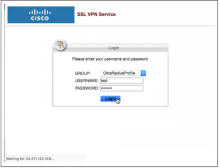
- Navigate to the Cisco AnyConnect web portal URL.
- Enter the same username, password, and group (optional), as in part 1, earlier.
- Enter the challenge factors when prompted.
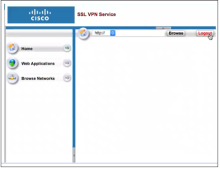
- After successfully completing the challenge, you're connected and see the following screen:
If you enter an incorrect value or take to long to respond to the push notification, AnyConnect displays the following screen:
Verify the Cisco ASA VPN Appliance is properly configured to work with Okta (single-step flow)
There are two parts to this test.
Part 1 – Test SSL-VPN with Cisco AnyConnect
- Open Cisco AnyConnect and click Connect.
The username must be in the format you specified when you added the app in Okta in Part 2, above.
-
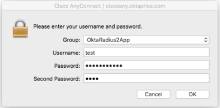
Enter your Username, Password, and a Group (optional). Click OK.
- The username must be in the format you specified when you added the app in Okta in Part 2, above.
- Enter the second password, as follows.
- 123456 – Code from Okta Verify, Google Authenticator, or Yubikey OTP
- push – trigger push notice to enrolled phone
- sms – trigger sms to enrolled phone
- other – any other configuration
- If the Login Failed screen appears, check your username and password and try again.
-
After successfully completing the challenge, you are connected and see the following screen:
If you enter an incorrect value or take to long to respond to the push notification, AnyConnect displays the following screen:
Part 2 –Test the clientless VPN with the AnyConnect web portal
- Navigate to the Cisco AnyConnect web portal URL.
-
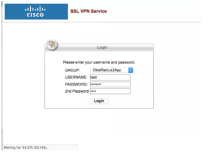
Enter your Username, Password, and a Group (optional). Click OK.
- The username must be in the format you specified when you added the app in Okta in Part 2, above.
- Enter the second password, as follows.
- 123456 – Code from Okta Verify, Google Authenticator, or Yubikey OTP
- push – trigger push notice to enrolled phone
- sms – trigger sms to enrolled phone
- other – any other configuration
- If the Login Failed screen appears, check your username and password and try again.
-
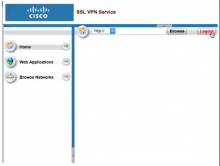
After successfully completing the challenge, you are connected and see the following screen:
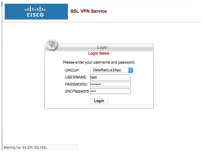
If you enter an incorrect value or take to long to respond to the push notification, AnyConnect displays the following screen:


