Add an automation
Add an automation by configuring its parameters.
Before you begin
-
You must be a super admin, org admin, or mobile admin to add an automation. Only super admins can manually change the lifecycle state of another super admin.
-
Depending on the size of your org, there may be a 24-hour delay between when your automation begins evaluating conditions and when the actions are run.
-
User sign-in activity is updated when users sign in through a service provider or Okta. This activity is recorded in the Last Login field of the Application Usage report.
Procedure
- In the Admin Console, go to .
-
Click Add Automation and enter a name for the automation. Click Save.
-
Configure the parameters of the default conditions:
Click Edit next to Select a schedule. Select the schedule, time, and time zone that you want to run the automation.
The default selection is set to Run daily, with a creation time stamp of the local time zone.
Click Edit next to Select group membership, and enter one or more groups to which the automation applies. Click Save.
The automation applies to all members of the group, regardless of whether they're Okta-sourced, Active Directory or HR-sourced.
-
Configure one or more new conditions. Click Add Condition and select one or both of the following conditions:
-
User Inactivity in Okta: This option looks for active users who haven't signed in to Okta for a set number of days.
If the user has never signed in, the creation date is used to determine inactivity. Because app session lengths can vary, this option doesn't check if the user is active in the apps that they sign in to through Okta. For this reason, Okta recommends setting the duration to be the same as or higher than the app length configuration.
For more information about active user accounts, see About user account states.
-
User password expiration: This option looks for users whose Okta-stored passwords expire within a set number of days.
This automation only impacts users who meet this condition once. To remind the user again as the expiration date approaches, you need to create an extra User password expiration automation. Although this option isn't designed to work with your Active Directory integration, it can provide you with limited functionality.
-
-
Configure one or more actions to trigger as a result of the conditions you set. Each action is run independently from the other actions and doesn't run in any particular sequence. Actions are run one time after all conditions are met. Choose one of the following actions:
-
Send email to the user: This option enables you to create an email template by using HTML and referencing Okta end-user profile attributes within the body of the message. The subject is required before you can preview and save the action. If you don't use HTML, the email is unformated and extra spaces and line returns aren't preserved.
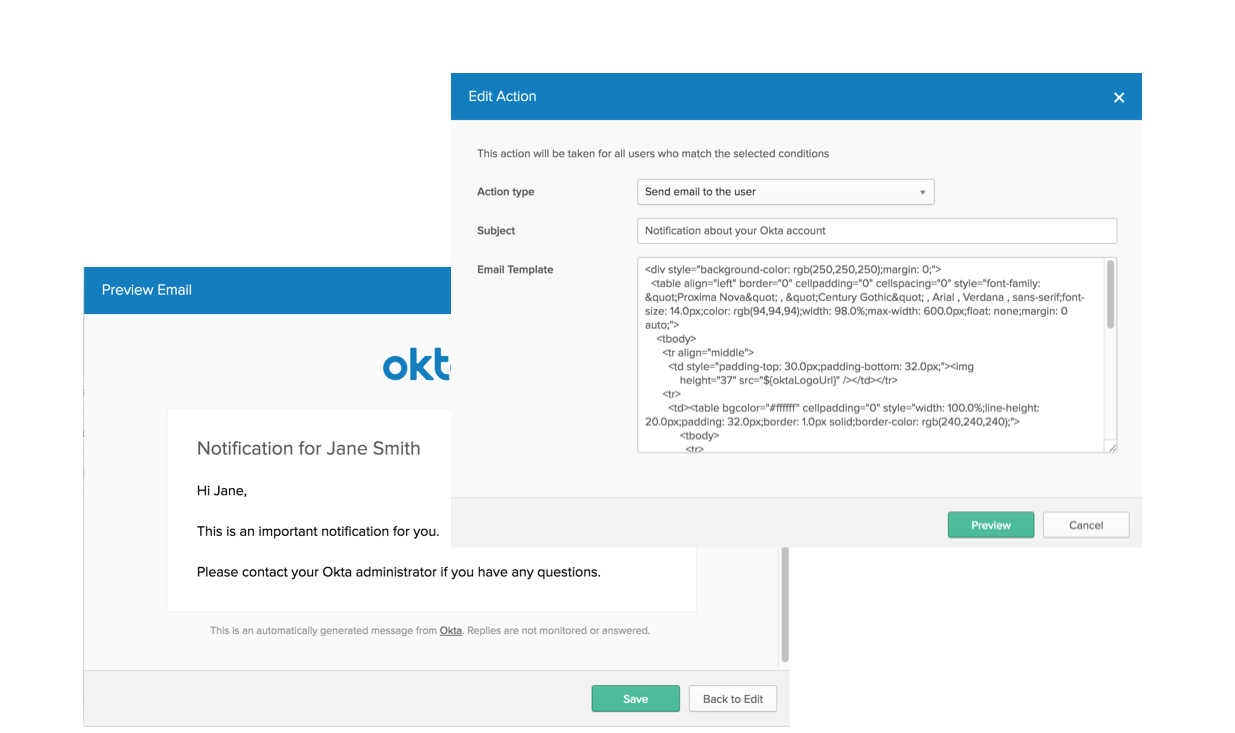 Note:
Note:The email automation is performed once on the same user every 30 days.
-
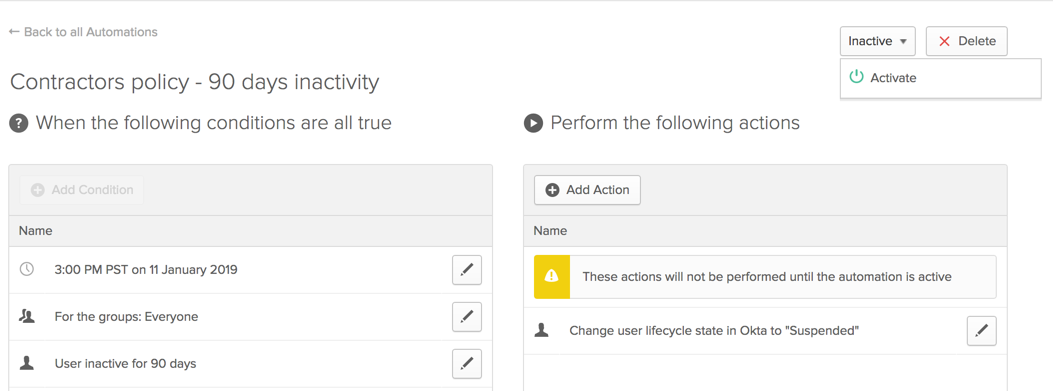
Change user lifecycle state: This option enables you to change the user lifecycle to Suspended, Deactivated, or Deleted. Users who are manually reactivated or unsuspended must sign in before the next automation cycle changes their status. Setting the Change user lifecycle state in Okta to Deleted is irreversible.
-
-
Select Activate from the Inactive/Active dropdown.
The Activate option becomes available after you configure all the required conditions and at least one action.
Active automations are run using the configured schedule settings for that automation, except for email automation, which is performed once on the same user every 30 days. To edit an automation, deactivate it first.