Salesforce integration
This topic describes the steps to integrate Identity Security Posture Management (ISPM) with your Salesforce tenant:
Download the server certificate file
-
In the Identity Security Posture Management console, go to .
-
Select Salesforce .
-
Enter a value in the Source Name field.
-
Click Generate server.crt.
-
Click Download server.crt.
Add ISPM IPs to your Trusted IP Range
Optional. If your Jira has an IP allowlist, you must include these ISPM IP addresses in your trusted IP range.
-
18.98.16.160/27 -
3.44.64.96/27 -
3.40.0.96/27 -
13.52.68.184 -
54.193.209.206 -
13.57.96.208 -
184.72.14.192 -
13.57.65.107 -
13.57.96.250
-
From the left menu, go to .
-
Click Network Access. The Trusted IP Range page opens.
-
Create a rule for each of the IPs above:
-
Click New.
-
Set the IP as the Start IP Address and the End IP Address.
-
Add a description. For example,
ISPM IP number 1.
-
-
Repeat steps 1 - 3 for each ISPM IP address.
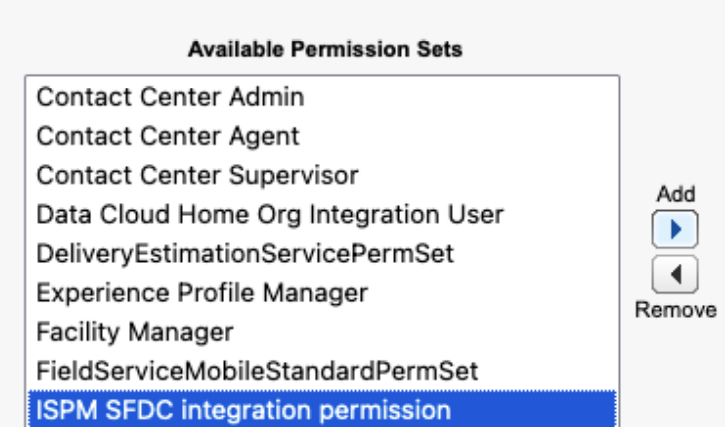
Create a permission set
- In your Salesforce tenant, go to .
-
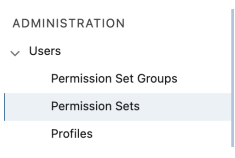
In ADMINISTRATION, select . The Permission Sets page opens.
-
Click New. The Create screen opens.
-
In the Enter permission set information section, enter
ISPM SFDC integration permissionas the Label.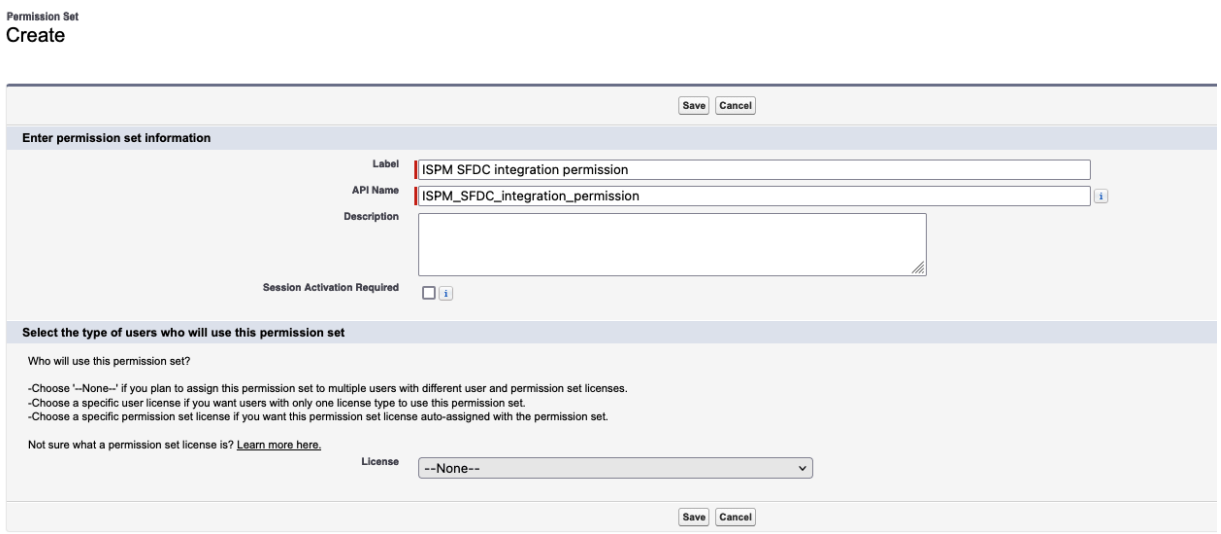
-
Optional. Enter a description.
-
In the Select the type of users who will use this permission set section, set the License to None.
-
Click Save.
-
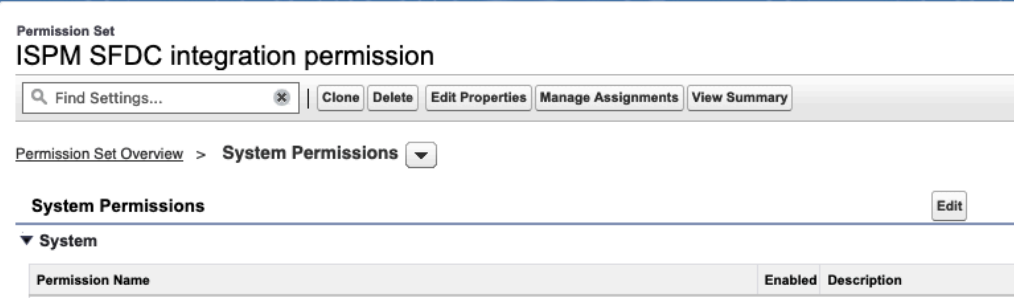
Scroll down to the System section and select System Permissions. The ISPM SFDC integration permission page opens.

-
Click Edit to modify system permissions.
-
Select the following system permissions:
-
API Enabled. This system permission allows ISPM to access any Salesforce.com API.
-
View Setup and Configuration
-
View All Data
-
Manage MFA in API
-
Manage MFA in API
-
Optional. Customize Application. This system permission allows ISPM to detect Unauthorized Salesforce Apps Installed by Users.
Sometimes when you select a permission, there are other system permissions that are selected automatically. See Salesforce system permissions.
-
-
Optional. Select all of the following system permissions to allow ISPM to detect Salesforce workload identities, including connected apps and External Client Apps (ECAs):
-
Manage Connected Apps
-
Modify Metadata Through Metadata API Functions
-
View all External Client Apps
-
View all External Client Apps, view their settings, and edit their policies
-
View Roles and Role Hierarchy
-
Customize Application
Note:Workload identities is a Limited Early Access release. Contact your Customer Support Manager or Account Executive to learn more.
-
-
Select the View All Profiles user permission.
-
Click Save. The Permission Changes Confirmation screen opens.
-
Review the permissions that you selected and click Save.
Assign the permission set
- In your Salesforce tenant, go to .
-
In ADMINISTRATION, select .
-
Select a user account that you want to use for the ISPM integration. This account must have Salesforce as its user license.
-
Go to the Permission Set Assignments section.

-
Click Edit Assignments.
-
Find and select the Identity Security Posture Management SFDC integration permission set.
-
Click Add.
-
Ensure that it appears in the Enabled Permission Sets section.
-
Click Save.
Create an external client app
- In your Salesforce tenant, go to .
-
Under Platform tools, go to .
-
Click New External Client App.
-
Go to the Basic Information section and enter values for the following fields:
-
External Client App Name: Enter a name for the app. For example,
ISPM SFDC Integration -
API Name: This field is populated automatically. Leave this value as it is.
-
Contact Email: Enter an email address.
-
Distribution State: Select Local.
-
-
Go the API (Enable OAuth Settings) section and enter values for the following fields:
-
Select the Enable OAuth checkbox.
-
In the Callback URL field, enter
http://localhost:1717/OauthRedirect -
Under OAuth Scopes, add the following OAuth scopes:
-
Manage user data via APIs (api)
-
Manage user data via Web browsers (web)
-
Perform requests at any time (refresh_token, offline_access)
-
-
Go to the Flow Enablement section:
-
Select Enable JWT Bearer Flow.
-
Upload the server certificate file (server.crt) that you downloaded earlier from the ISPM console.
-
-
Go to the Security section and ensure that the following checkboxes are selected:
-
Require Secret for Web Server Flow
-
Require Secret for Refresh Token Flow
-
-
Click Create.
-
On the external client app's page, go to the Settings tab.
-
Under OAuth Settings, click the Consumer Key and Secret field and copy the copy the consumer key value. Store this value securely.
-
-
Go to the Policies tab and click Edit.
-
Go to the OAuth Policies section and do the following steps:
-
Set the Permitted Users field to
Admin approved users are pre-authorized. -
For the Select Permission Sets field, select the permissions set that you created earlier.
-
In the App Authorization subsection:
-
Select Refresh token is valid until revoked.
-
Set IP Relaxation as Enforce IP restrictions.
-
-
Click Save.
-
Share the parameters with ISPM
-
In the Identity Security Posture Management console, go to .
-
Select Salesforce .
-
Enter the username of the user that you assigned to the permission set.
-
Enter the consumer key that you copied earlier.
-
Click Submit.
Salesforce system permissions
While integrating Salesforce with Identity Security Posture Management (ISPM), Salesforce automatically selects more permissions when you select certain system permissions to include in a permission set.
| System permission | Additional automatically selected system permissions |
|---|---|
| View Setup and Configuration | View Roles and Role Hierarchy |
| View All Data |
|
| Manage MFA in API |
|
| Customize Application |
|