OpenID Connect (OIDC) with Proof Key for Code Exchange (PKCE)
Set up Okta app authentication using OpenID Connect (OIDC) with Proof Key for Code Exchange (PKCE).
About this task
Early Access release
Create an Okta app integration and grant the required API scopes using OpenID Connect (OIDC) with Proof
Key for Code Exchange (PKCE) for native MCP clients such as VS Code.
Procedure
Create the app integration
In the Admin Console, go to Applications and resources > Applications.
Click Create App Integration.
Select OIDC - OpenID Connect as the sign-in method.
Select the Application type based on your use case:
Web app: Select this if you're embedding the Okta Managed MCP Server into your app, such as a chatbot or a server-side web app.
Single-page app: Select this if you're building a browser-based app that connects directly to the Okta Managed MCP Server.
Native app: Select this for MCP clients such as VS Code.
Note:
For web apps and single-page apps, the app opens a browser window for authentication. The user authenticates using the authentication methods that are supported in your org. The app then generates an access token and uses it to connect to the Okta Managed MCP Server, allowing the user to run queries. You must ensure that the app is MCP compatible.
Click Next.
Enter an App integration name, such as "Okta Managed MCP Server".
In the Grant type, select Authorization code.
Copy the redirect URI from your MCP client and enter it in the Sign-in redirect URIs field.
Note:
The redirect URI varies depending on the native app you are using. For example, for VS Code, the redirect URI is typically http://127.0.0.1:<port>.
In the Assignments section, select who can use this app integration.
Note:
Assignment controls who can use this app integration; granted API scopes control what they can do with it. A user or group must be assigned before they can connect to the Okta Managed MCP Server through this app integration, regardless of which scopes are granted.
Click Save.
Grant Okta API scopes
After you create the app, follow these steps to grant the required API scopes. The scopes you grant here determine which tools load for this app. See Scope-based tool loading.
Select the Okta API Scopes tab.
Click Grant for the required API scopes. See OAuth 2.0 scopes and the Use cases section for guidance on selecting the appropriate scopes.
Note:
The Okta Managed MCP Server uses OAuth 2.0 for authentication. See Authentication. API key-based authentication isn't
supported.
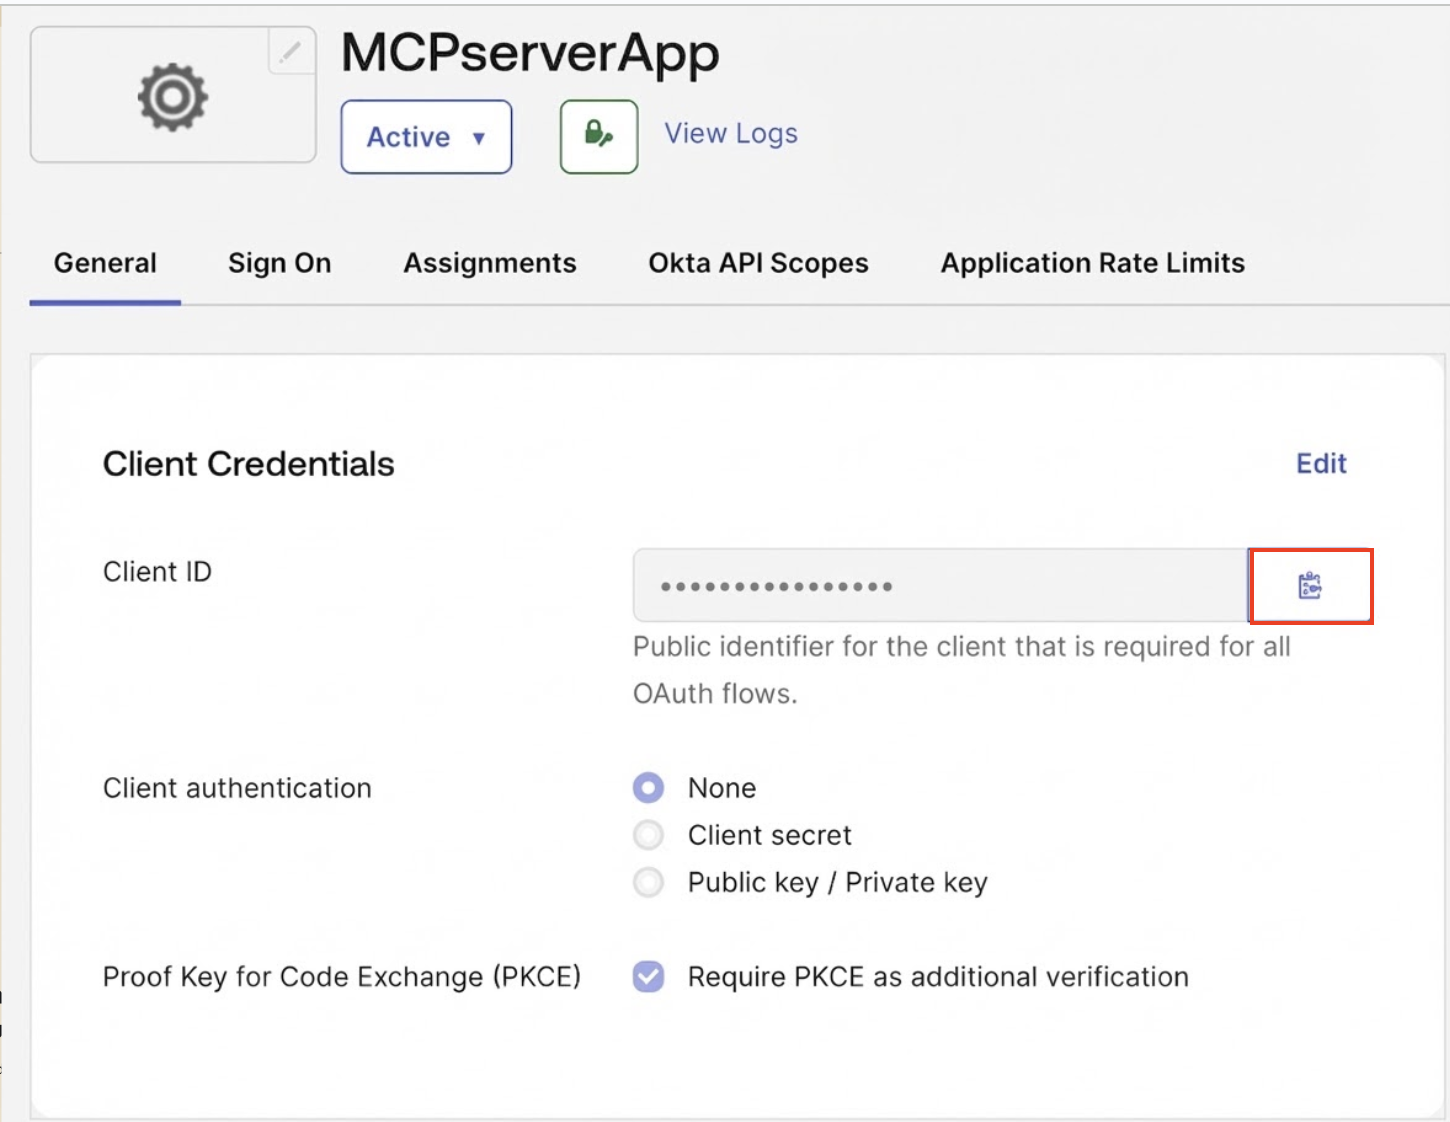
Go to the General tab and confirm that the Proof Key for Code Exchange (PKCE) is selected.
Go to the General tab and copy the Client ID.
Note:
Save these values and the list of granted scopes to configure your Okta Managed MCP Server.
Figure 1. Copy client ID
You've created an app integration, configured the authentication flow, and granted the required API scopes for your Okta Managed MCP Server.
Note:
If your org needs different scopes for different user types, such as admins and end users, repeat this method to create a separate app for each type instead of a single app. See Configure apps for multiple user types.