Add Custom Policy
To add custom policy to an application:
- Open the Access Gateway Admin UI console.
- Select the Application tab.
- In the row containing the previously created application, click Edit (
 ).
). - Expand the Essentials tab.
- In the Protected Web Resource field, enter
http://policy.service.spgwNote:Setting a Protected Web Resource as
policy.service.spgwinstructs Access Gateway that this is a policy test application. This results in a policy test suite being executed when you select or tests. This is only for testing purposes. - Expand the Advanced section.
- Enable Debug mode.Note:
Activating Debug mode allows Access Gateway to display debug information when testing. This is only for testing and should not be activated in production.
- Select the Policies tab.
- Click Add (
 ) and select Not Protected.
 - Enter a name and resource (for example,
/public). - Optional. Enter a policy description.
- Click Okay to save the rule.
- Click Add() and select Protected Rule.
- Enter a name, resource, and resource matching rule. For this example, enter:
Name DenyResource Path /denyResource Matching Rule Groups=(?!.*Everyone:) - Click Okay to save the rule.
- Click Done.
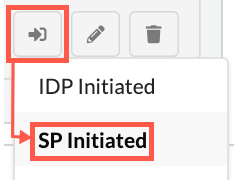
Test the application
- In the row containing the application, click the .
- Sign in to your Okta tenant using a valid account.
- Examine the results of the test. The default path is
/and is covered by the root policy.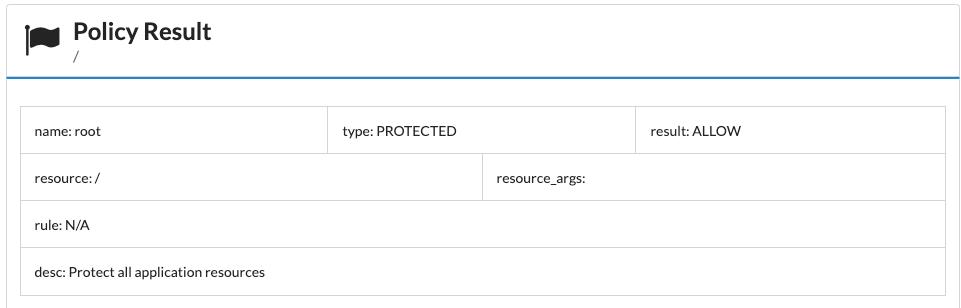
- Append
/deny/to the URL. - Refresh the browser. If the user was in the Everyone group, then an Access Denied dialog is displayed.