Use OAuth 2.0 Authorization Code
OAuth 2.0 is an authorization protocol that grants access to a set of resources. For example, remote APIs or user data.
As an added security layer, an OAuth 2.0 authorization server can return an authorization code to the client, which is exchanged for the access token.
For more details on OAuth 2.0, see What is OAuth 2.0?
Before you begin
To use the OAuth 2.0 authorization, you must first create an OAuth app with the remote service where you're going to connect.
Start this task
To add OAuth 2.0 authorization using the Authorization Code grant type:
-
Click the Overview tab.
-
Click Set up authentication if no authentication methods exist. Otherwise, click Add Authentication.
-
In the Authentication dialog, enter a display name and select
OAuth 2.0from the Auth Type dropdown list. -
For the Grant Type dropdown menu, select
Authorization Code. -
Add values to the following fields:
| Field | Definition |
|---|---|
|
Paths |
|
|
Authorize Path |
The location where the connector can retrieve access tokens for the service. For example, |
|
Token Path |
The location where the flow exchanges an authorization code for access and refresh tokens. For example, |
|
Refresh Token Path (Optional) |
The location where the connector can obtain a new access token after the previous one expires. The refresh token path is often the same as the access token path. If your service uses a separate endpoint for refreshing the access token however, then enter it here. For example, |
|
Credentials |
|
|
Redirect URI |
When registering a new app, you usually register basic information such as the app name or website. In addition, you must register a redirect URL to be used for redirecting authentication back to Okta Workflows. Copy the provided Redirect URI for your connector into your new OAuth app to register your connector with the service. Use the following redirect URLs to connect to Okta preview and production sites, respectively:
Your connector Key can be found on the Settings pane of the connector. Registration is required in both preview and production environments. |
|
Client Ownership |
This setting determines the type of user who manages the OAuth 2.0 app. Options are
|
|
Client ID |
A publicly exposed string provided by the service that's used to identify the OAuth 2.0 app and build authorization URLs. |
|
Client Secret |
A private value provided by the service. This value is used to authenticate the app identity to the service. |
|
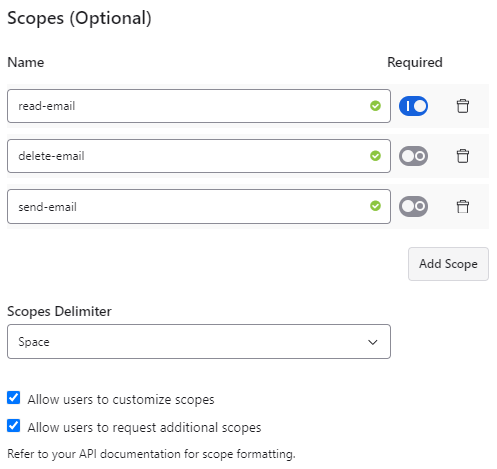
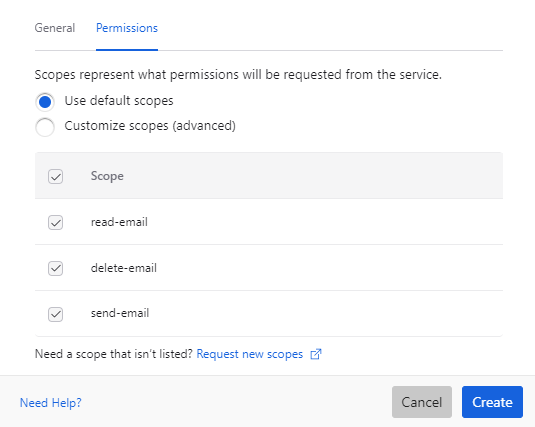
Scopes (Optional) |
|
|
Name |
Each scope defines a precise level of access that the connection requests from the service. To add OAuth scopes to your connection:
Note:
When you change any component of your connector authentication including new scopes customizations, the updates don't apply to previously established action cards or connections in your development environment. However, finalized connectors provided by Okta, whether they are first or third-party connectors, don't have this restriction. Check your API documentation to see if a special scope is needed to retrieve a refresh token (such as |
|
Scopes Delimiter |
Specify a delimiter for how individual scopes are separated when entered by the user. Options are |
|
Parameters (Optional) |
Parameters allow you to collect additional information from the connector user that might be necessary for authentication, such as their instance or subdomain. These fields are presented to the user when they first create a connection and are required. Label: The name for the parameter that is shown on the New Connection dialog when setting up the connector.
Key: Text value in the key-value pairing that the service uses. For example, Type: You can select three different field types:
|
|
Config Values (Optional) |
Other configuration values may be needed to define how a user authenticates to your connector. Click Add Config Value. Label: The name for the configuration value that is shown on the New Connection dialog when setting up the connector. Definition: Indicate whether this field is populated with a static value or a value from a helper flow.
Type: You can select two different field types:
The Visible toggle determines whether the configuration value appears in the authentication dialog for the connector. |

Next steps
After you create this authentication method, you need to create an httpHelper flow to manage calls through the authentication method. See Build an httpHelper flow.