Test the SAML pass through application
To test a SAML pass through application, we first enable debug and start monitoring and then test the application normally. The following topics describe the process.
Topics
- Configure application for testing
- Configure Access Gateway for debug and monitoring
- Test application
- Disable application and Access Gateway debug
Configure application for testing
To enable debug for application testing:
- Navigate to the Access Gateway Admin UI console
- From the Topology tab or the Applications tab, open the application.
- Select the Settings pane.
- Expand the Advanced sub-tab.
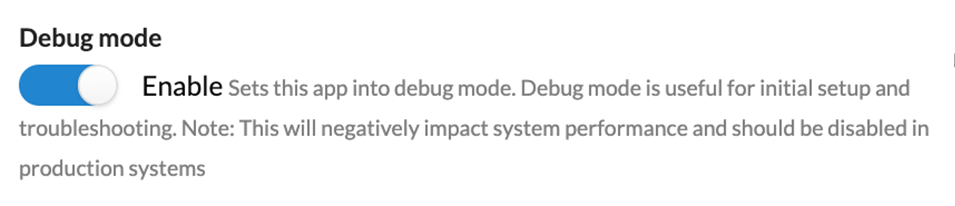
- Set the Debug toggle to Enable.
- Click Done.
Note:
When debugging applications: Consider testing attributes with static known good values. For example, change dynamic IDP based fields to static with known good values. When debugging policy based applications: Test with no policy or open policy first.
Configure Access Gateway for debug and monitoring
You can configure Access Gateway Management console to generate a running display of all system log messages.
- Open a terminal and use Secure Shell (SSH) to connect to the Access Gateway Management console.
- Enter 4 - Monitoring.
- Enter 2 - Enable Debug.
- Enter 1 - Monitor logs. This starts the running display of all log messages.
- Return to the Access Gateway Admin UI console console. You can test your app and examine the results in the running logs.
- Enter Ctrl-c to exit the log display.
See Monitor for details about monitoring, including a list of available commands.
The debug logging level rapidly generates log messages. Always disable debug logging when you've finished examining logging. Otherwise, you may run out of disk space.
Test application
Test application
- Connect to your Okta org as a user in the group associated with the bookmark application created in task Add an Okta bookmark application.
- Click the bookmark application icon to connect to the SAML application.
- Repeat as required to test.
Disable application and Access Gateway debug
Display debug statements at the command line
- Go to the Access Gateway Management console.
- Enter [Ctrl]-[c] to exit the log display.
- Enter 3 - Disable debug.
- Exit the command-line console.
App debug is enabled
- Go to the Access Gateway Admin UI console.
- Go to the app you're testing.
- Expand the Setting tab.
- Expand the Essentials tab.
- Return the Protected Web Resource field back to its original value.
- Expand the Advanced tab.
- Set the Debug toggle to Disable.
- Save your changes.