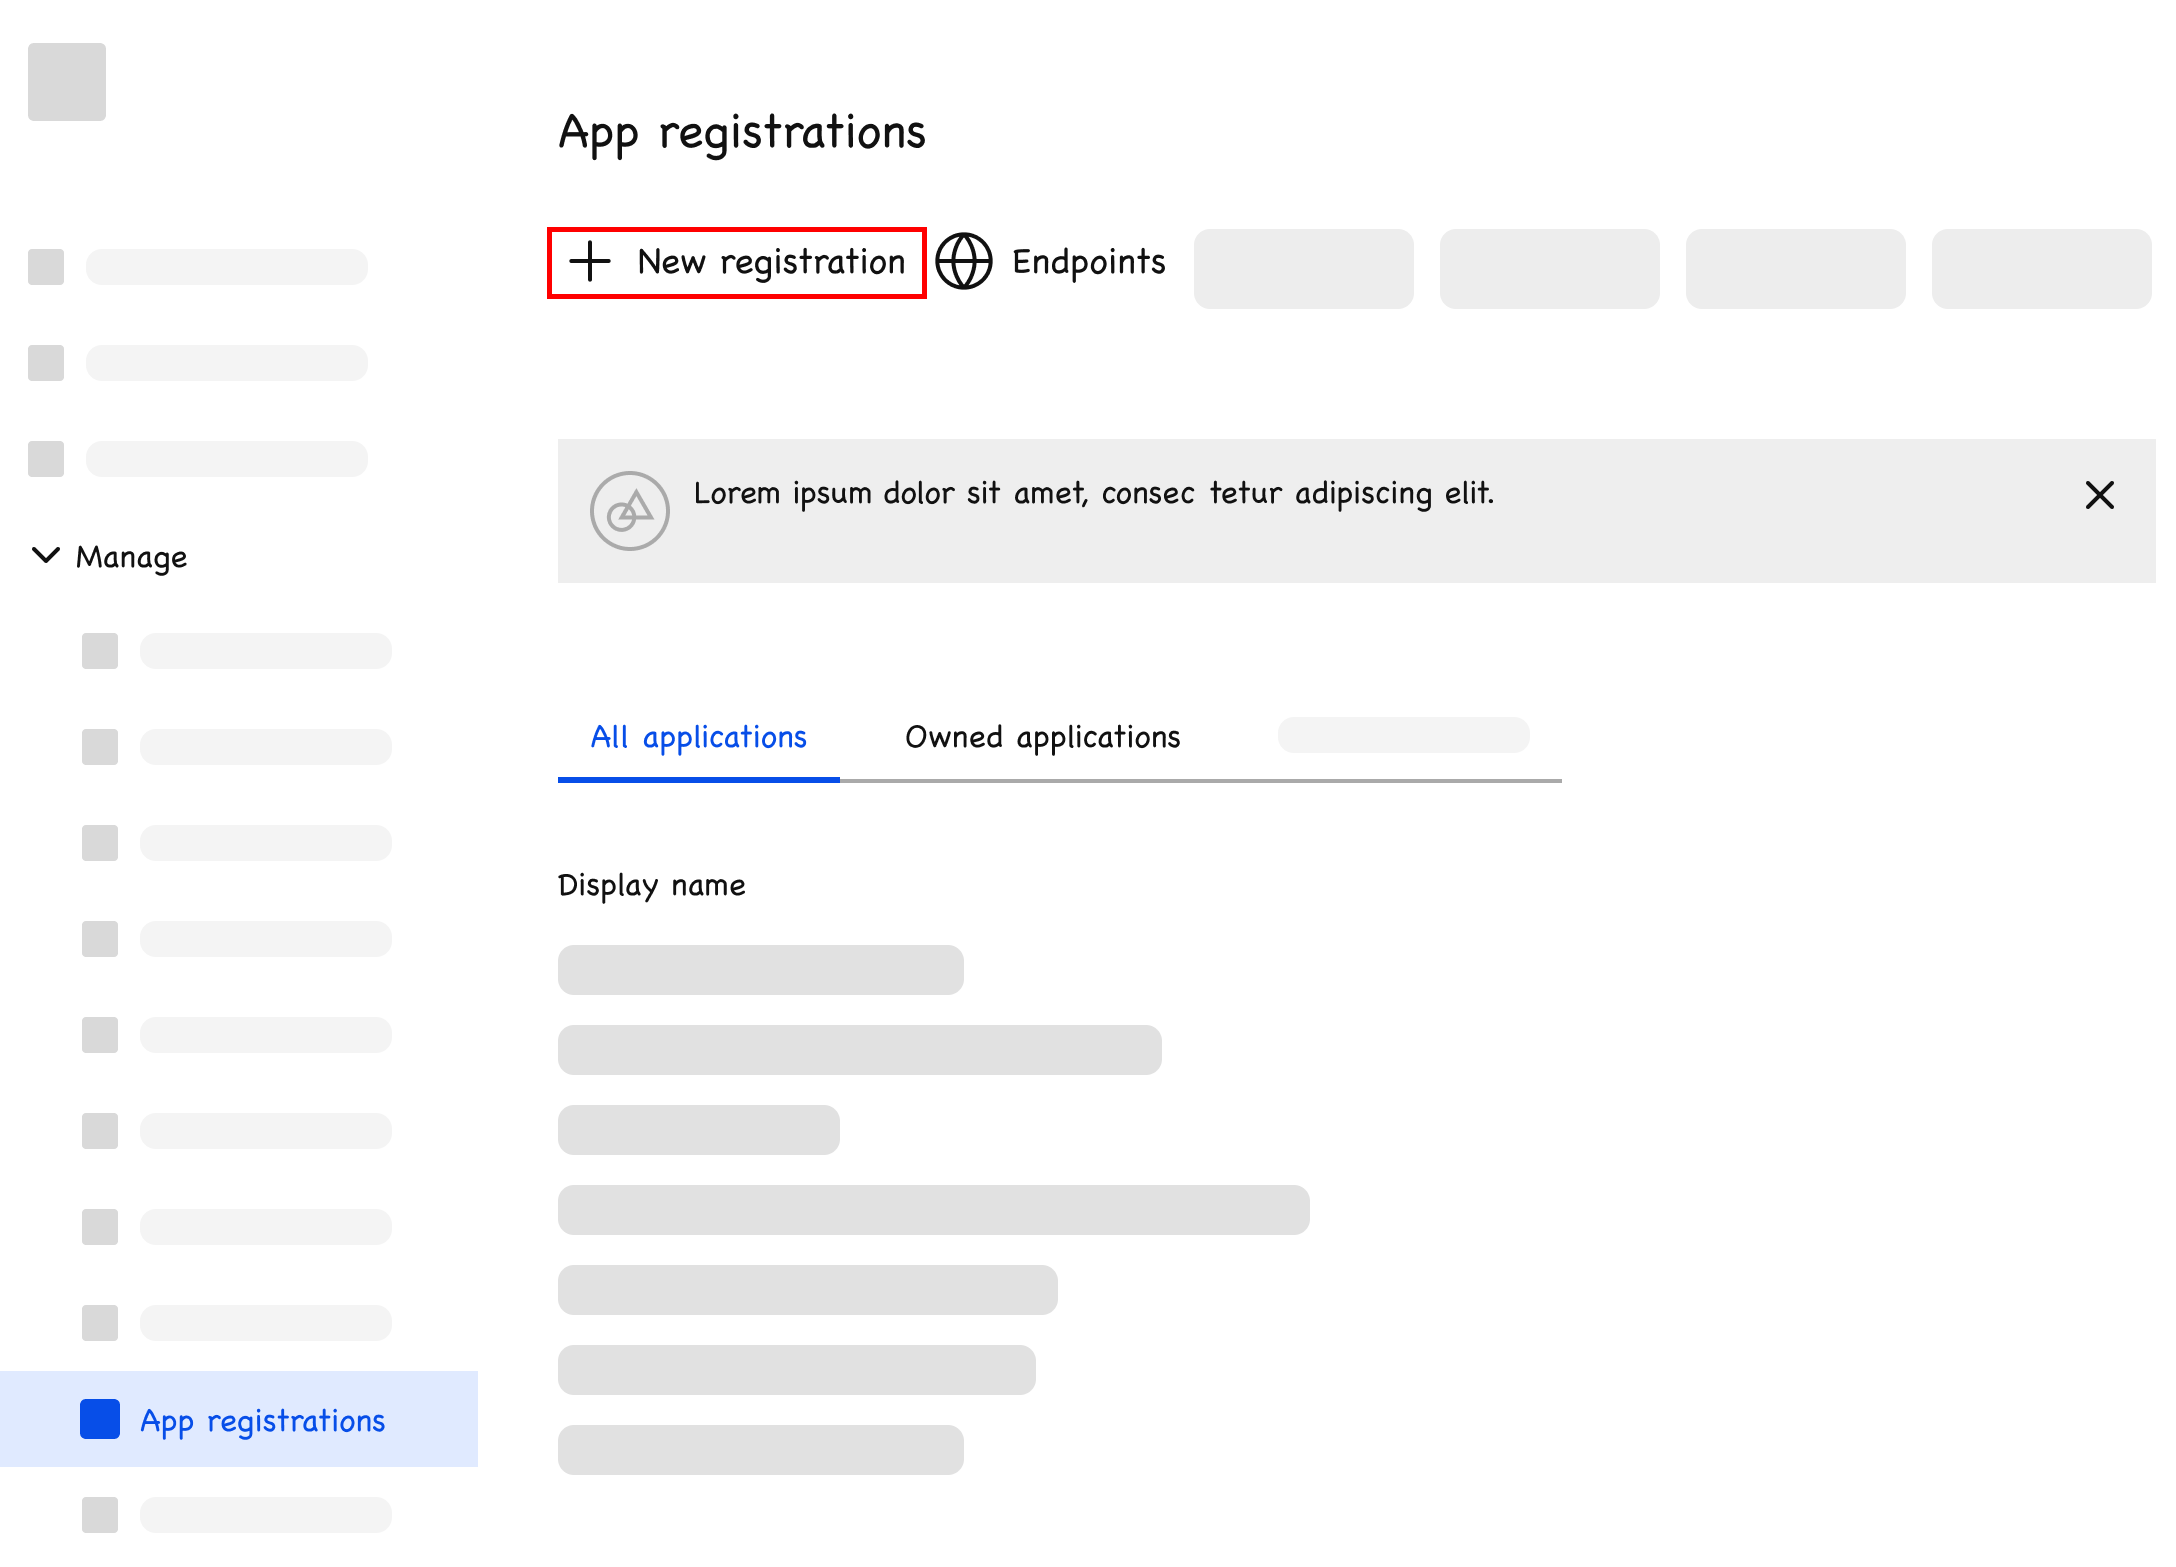
Prepare for the migration
Before you can migrate your org from Microsoft Entra ID to Okta, you need to Create a service app in Microsoft Entra ID and Configure Okta Workflows .
Before you begin
Download the Entra ID Configuration Export and Migration to Okta flows.
Understand the Microsoft Graph APIs that are used in the migration:
Create a service app in Microsoft Entra ID
Assign API permissions to a service app so you can export app metadata from Microsoft Entra ID to Okta.
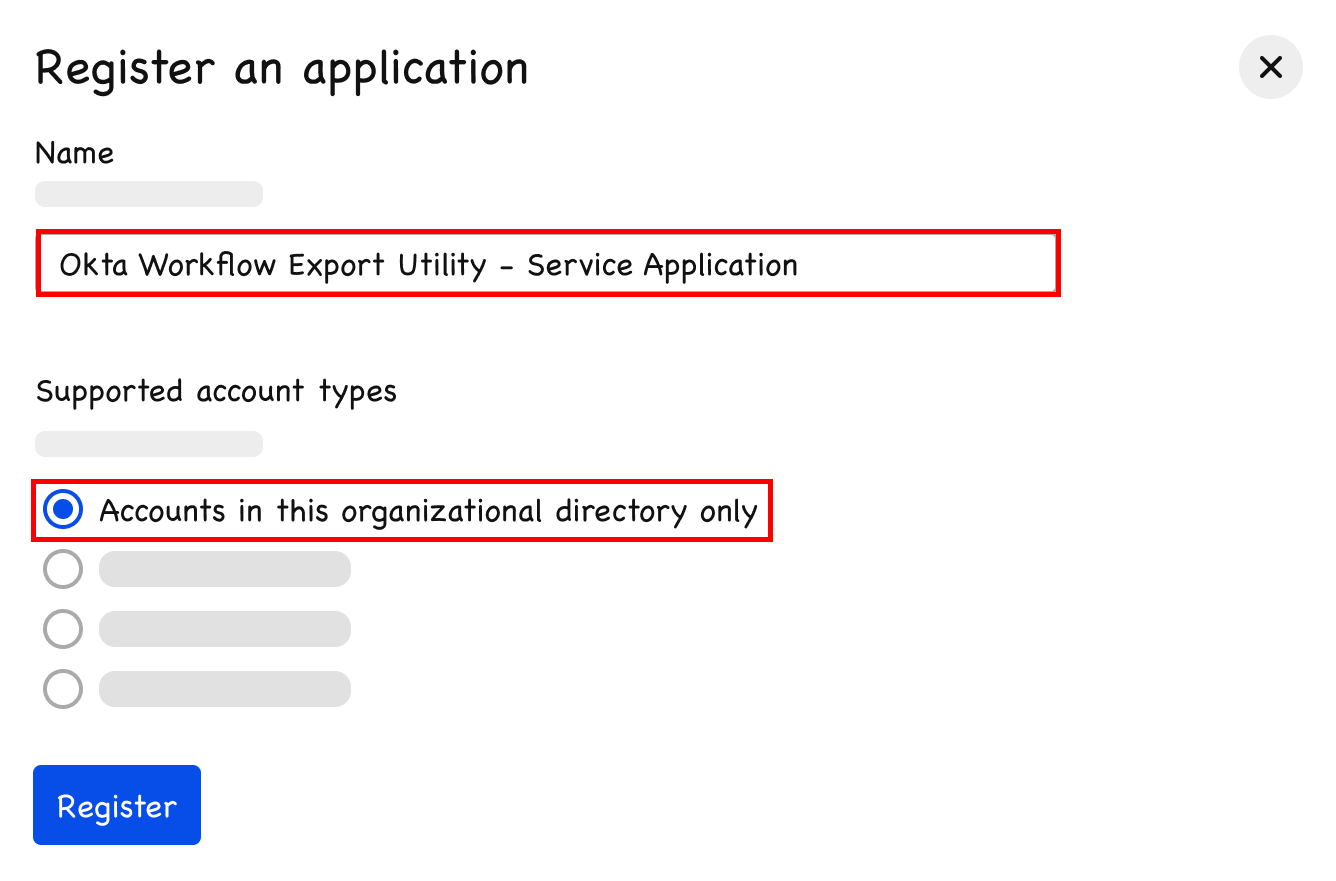
Register the app
-
In the Microsoft Entra admin center, go to . The Register an application dialog opens.
-
Enter a name for the app and select Accounts in this organizational directory only.
-
Click Register.
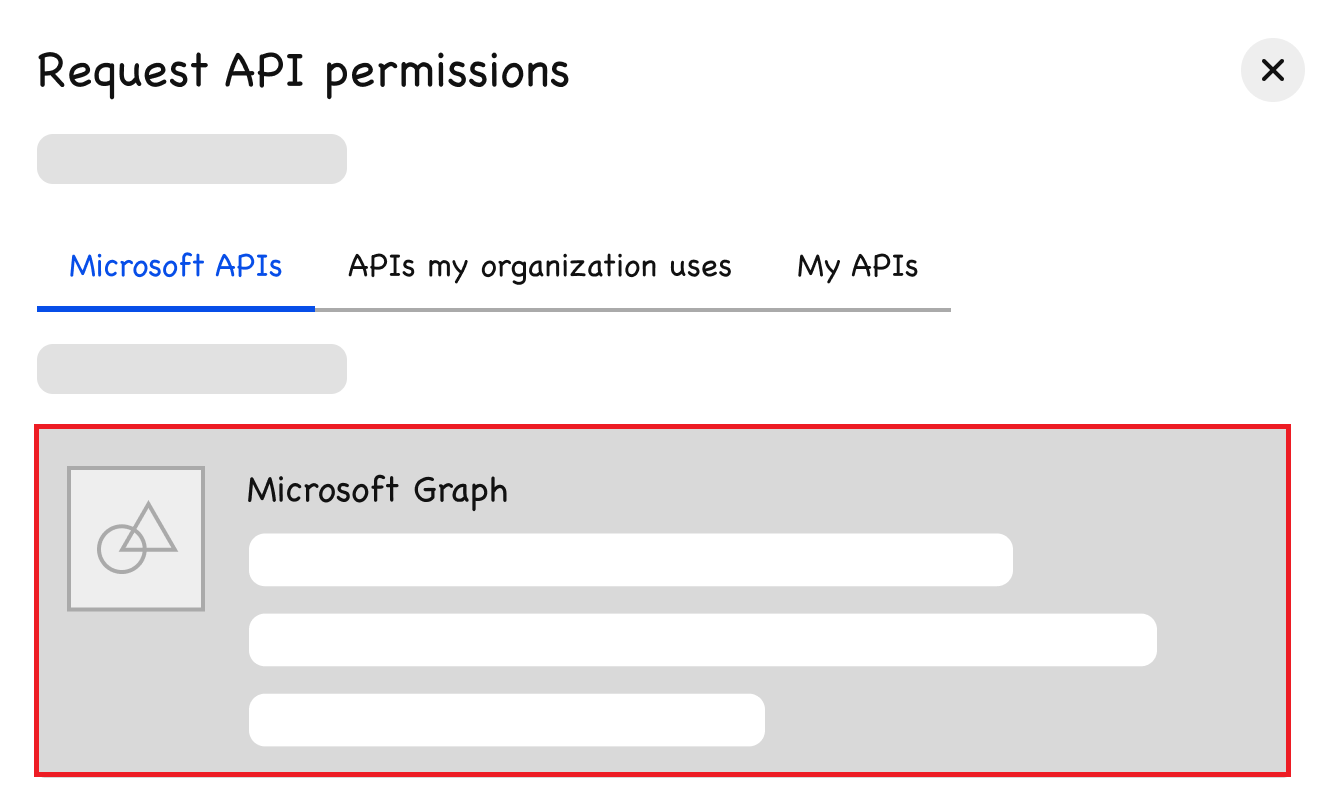
Add API permissions
-
Go to .
-
Click Add a permission. The Request API permissions dialog opens.

-
On the Microsoft APIs tab, select Microsoft Graph.
-
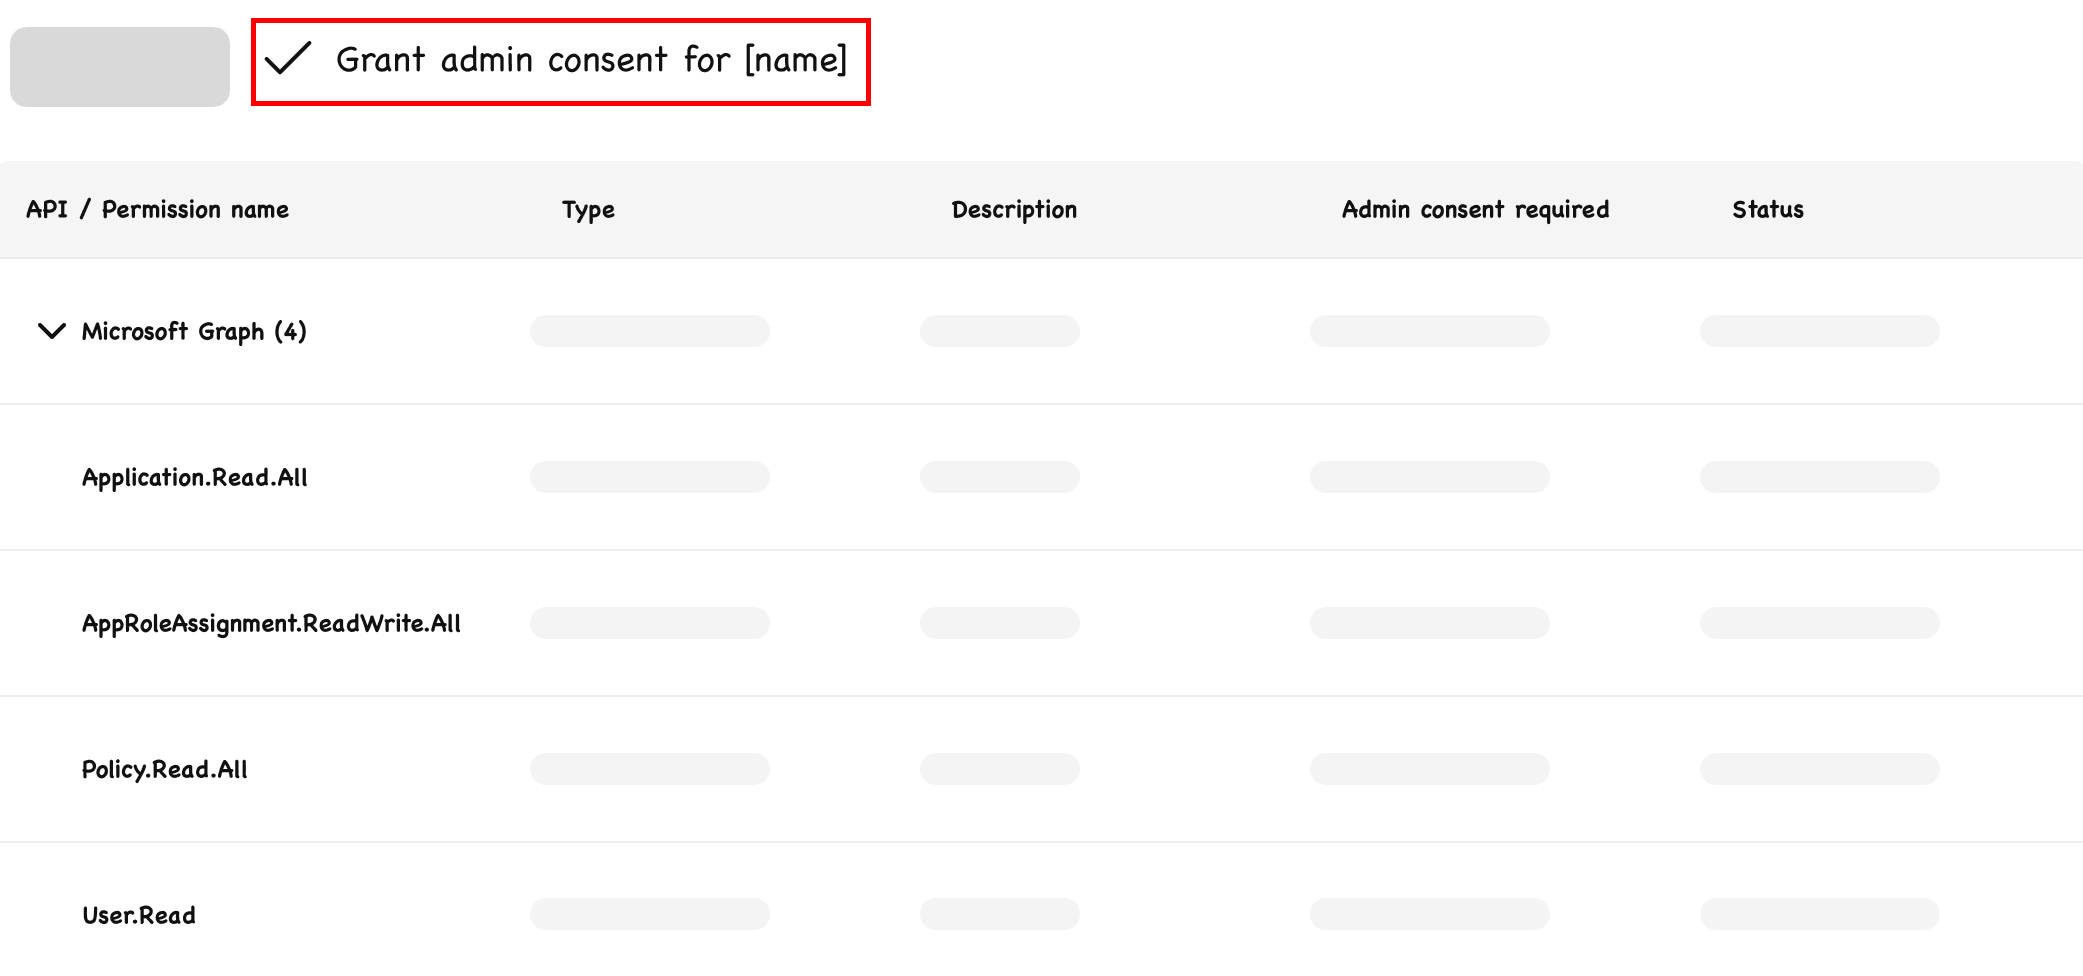
Select Application permissions, and then add these permissions to the app:
- Application.Read.All
- AppRoleAssignment.ReadWrite.All
- Policy.Read.All
-
Click Grant admin consent. Admin consent is granted to each of the permissions that you selected in the previous step.
Create a client secret
-
Go to .
-
Select the Client secrets tab and click New client secret. The Add a client secret dialog opens.
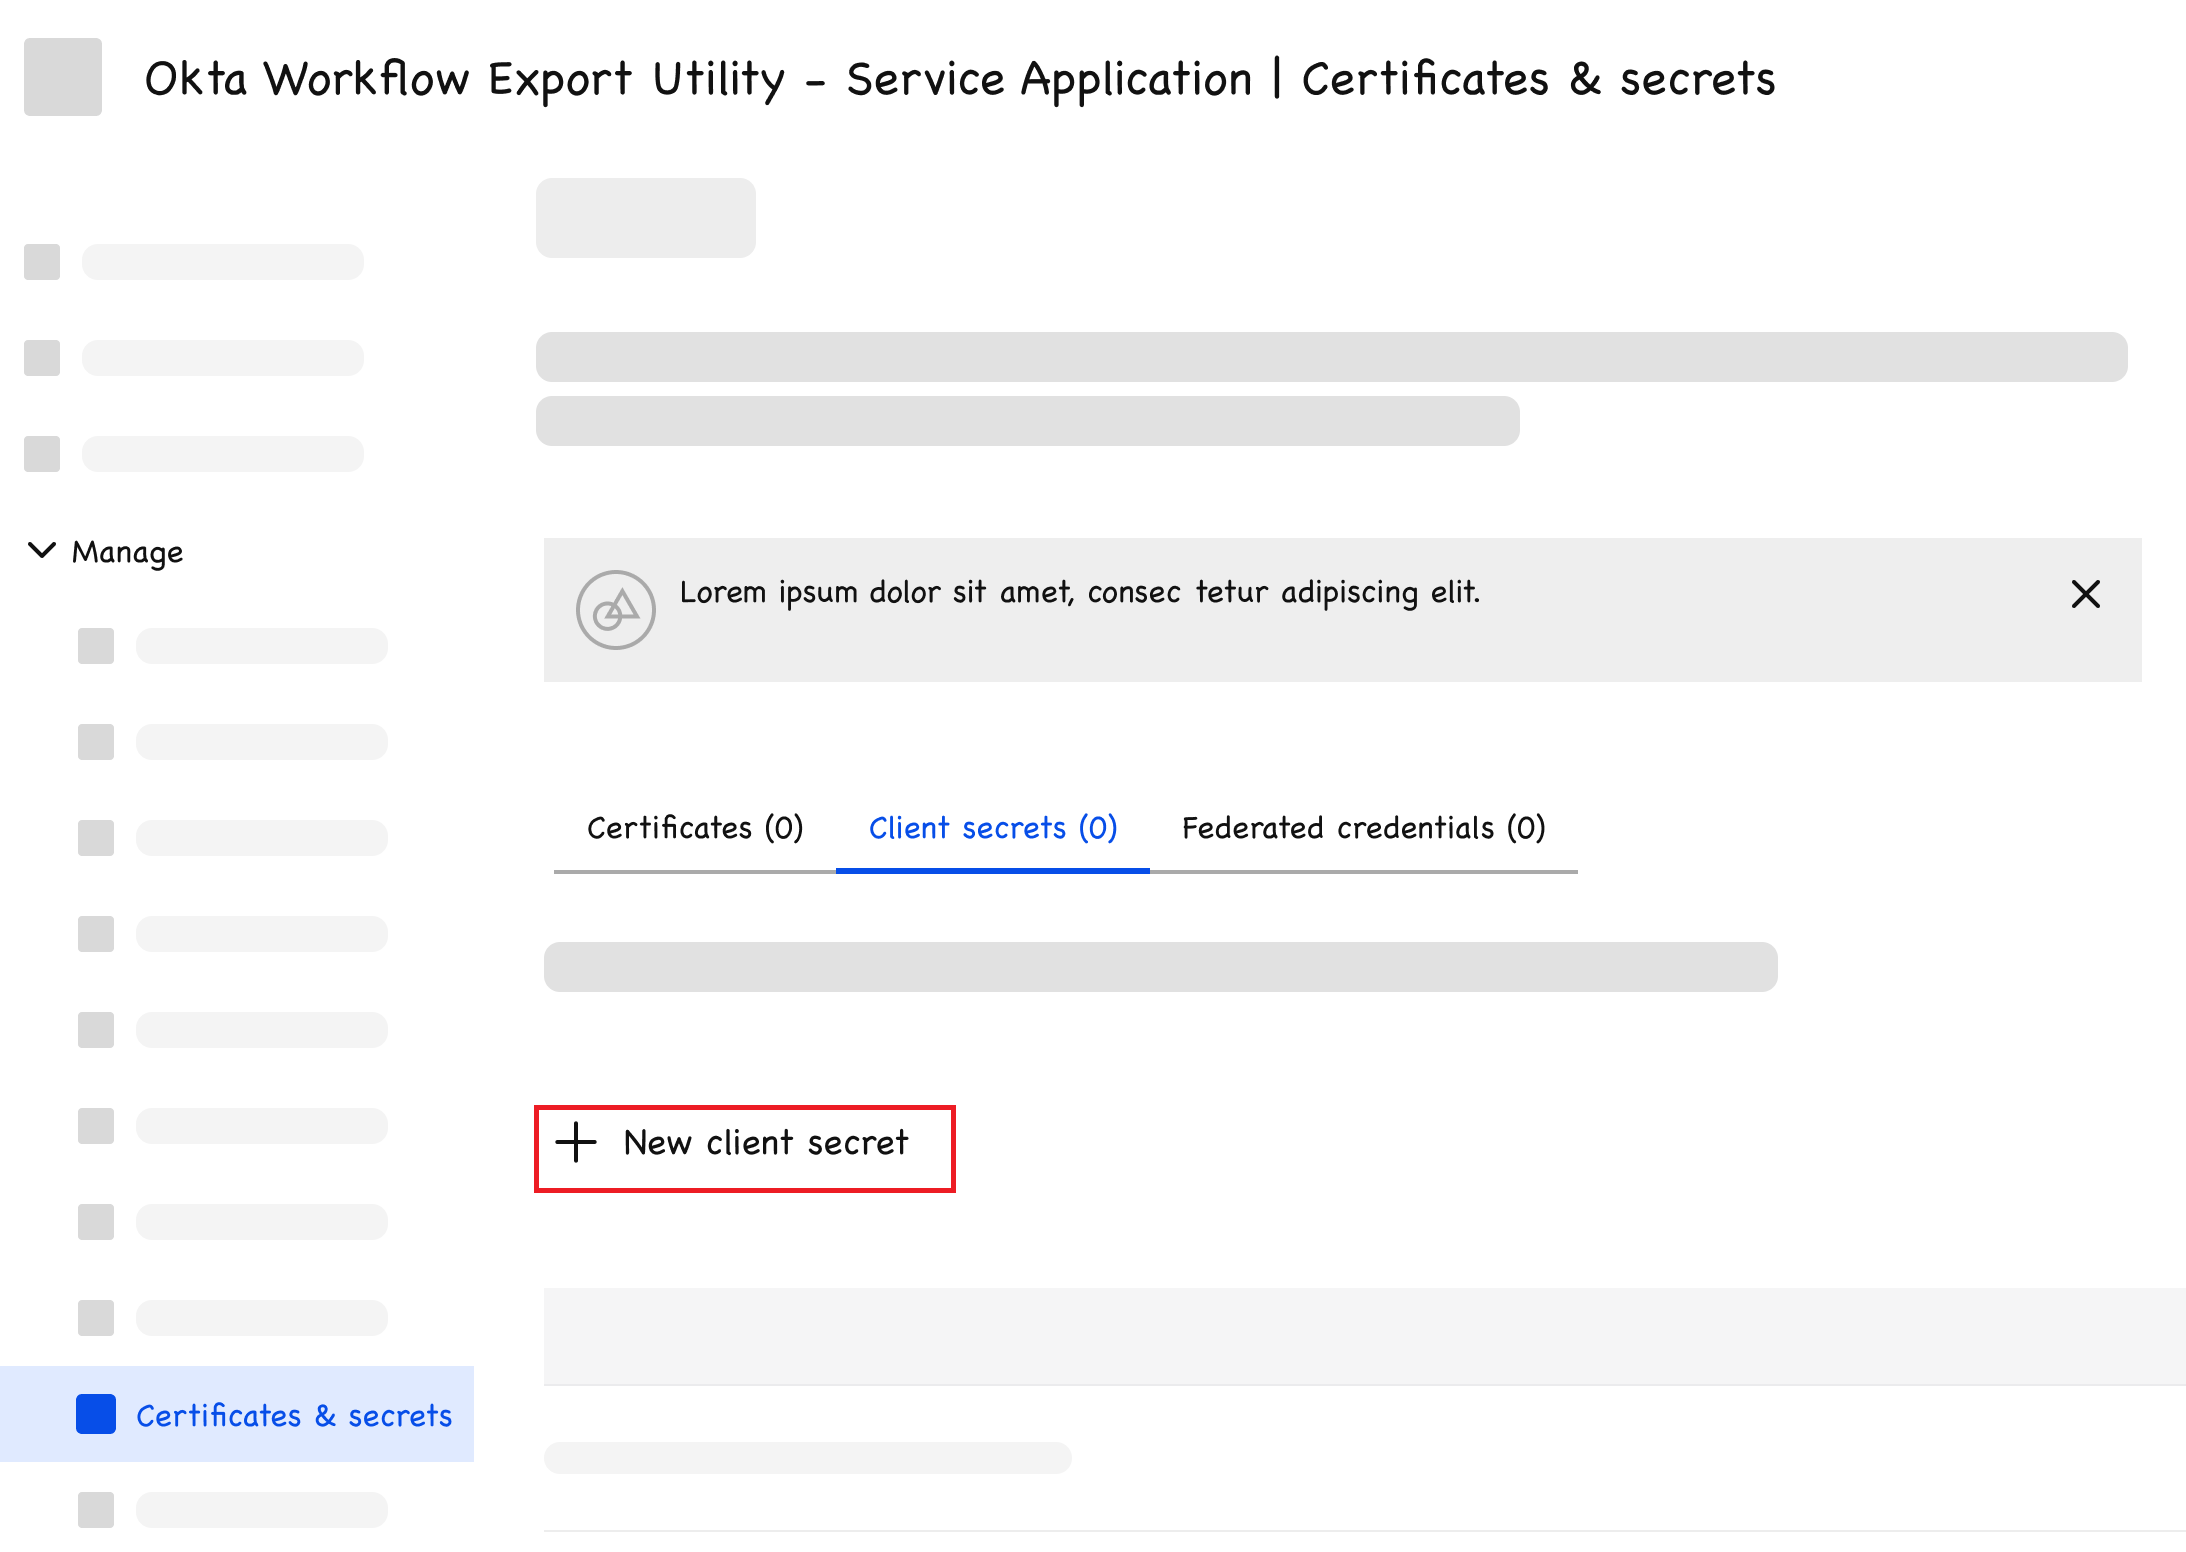
-
Enter a description and expiration, and then click Add.
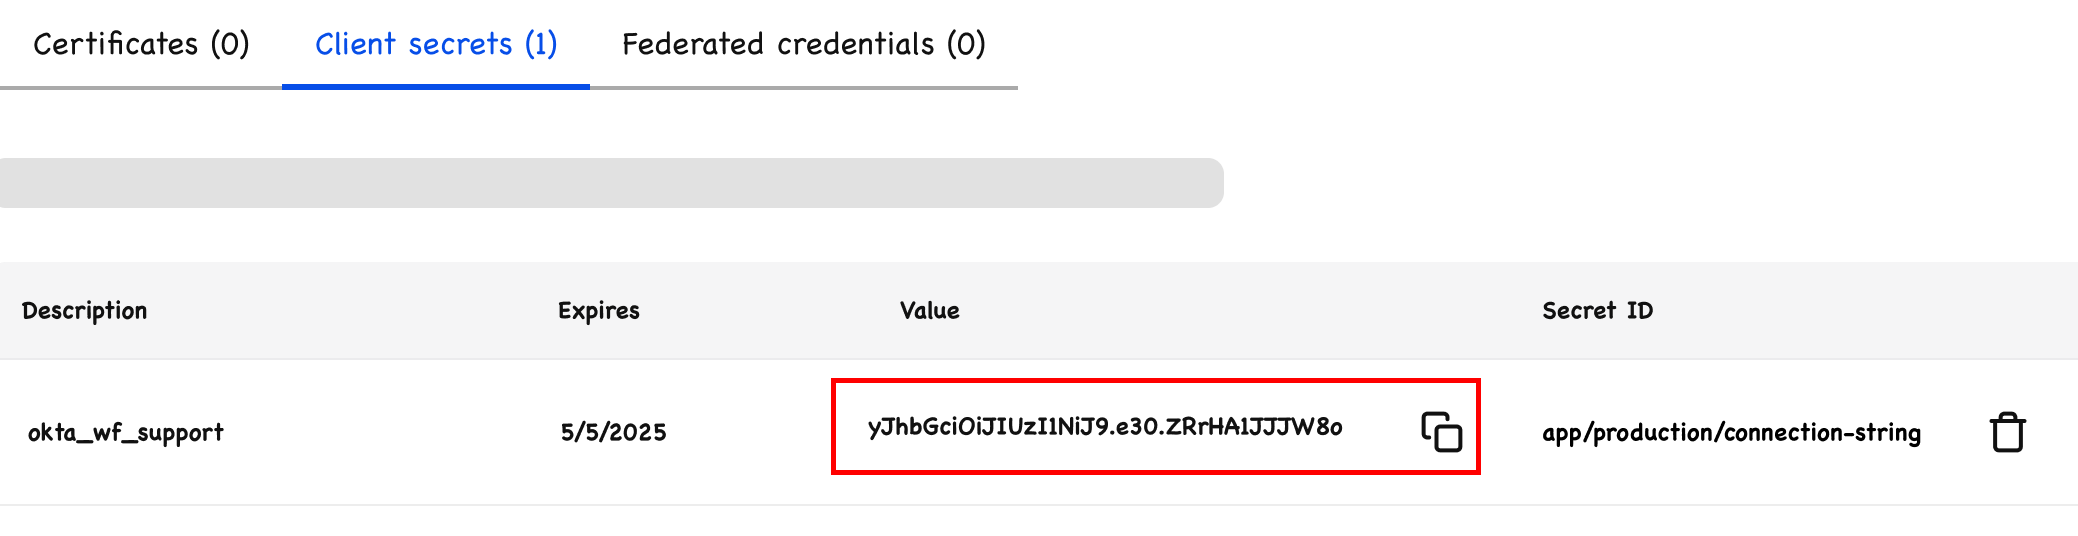
-
On the Client secrets tab, copy the secret that appears in the Value column. Store it safely so you can use it later in Okta Workflows.
Copy the OAuth 2.0 token endpoint
-
Go to .
-
Click Endpoints.
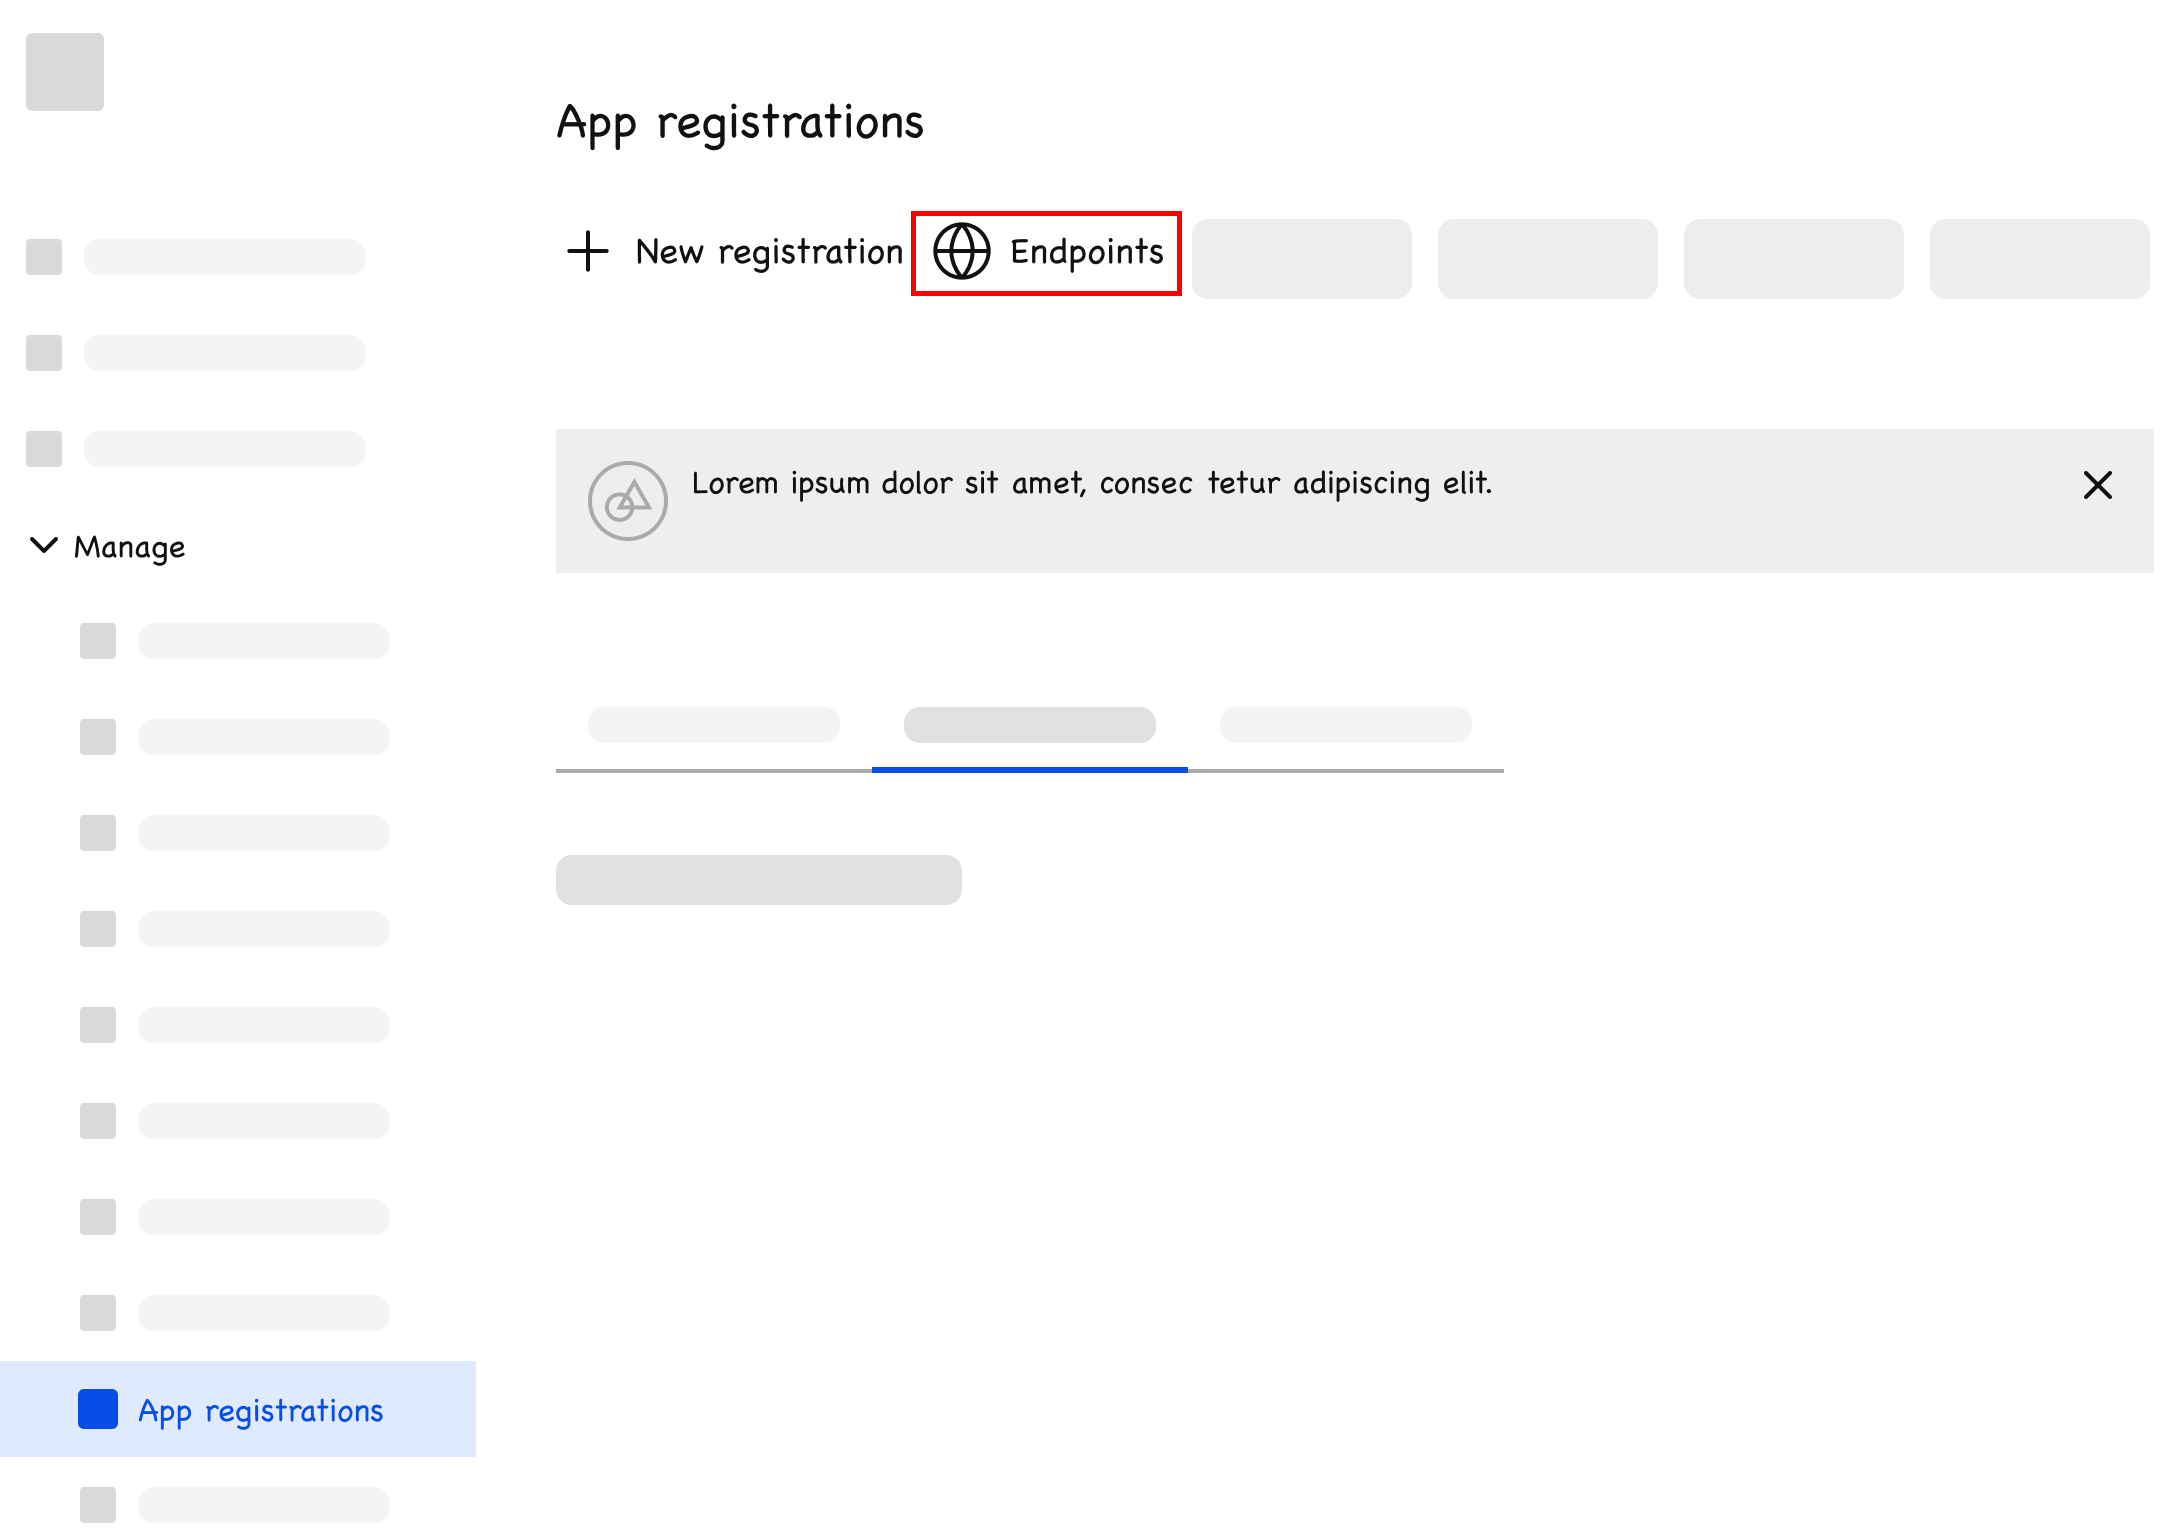
-
Copy the OAuth 2.0 token endpoint (v2) link. Store it safely so you can use it later in Okta Workflows.

Configure Okta Workflows
Complete these steps to configure Okta Workflows for the Microsoft Entra ID migration.
Add the Microsoft Entra ID migration flows template to Okta Workflows
-
Sign in to the Okta Workflows console.
-
Go to the Templates page.
-
Search for and select the Entra ID Configuration Export and Migration to Okta flow.
-
Click Add Template.
-
In the confirmation dialog, click Add Template again. The template is added as a folder in your Workflows environment. If a folder with the same name exists, this action adds a second folder with the same name.
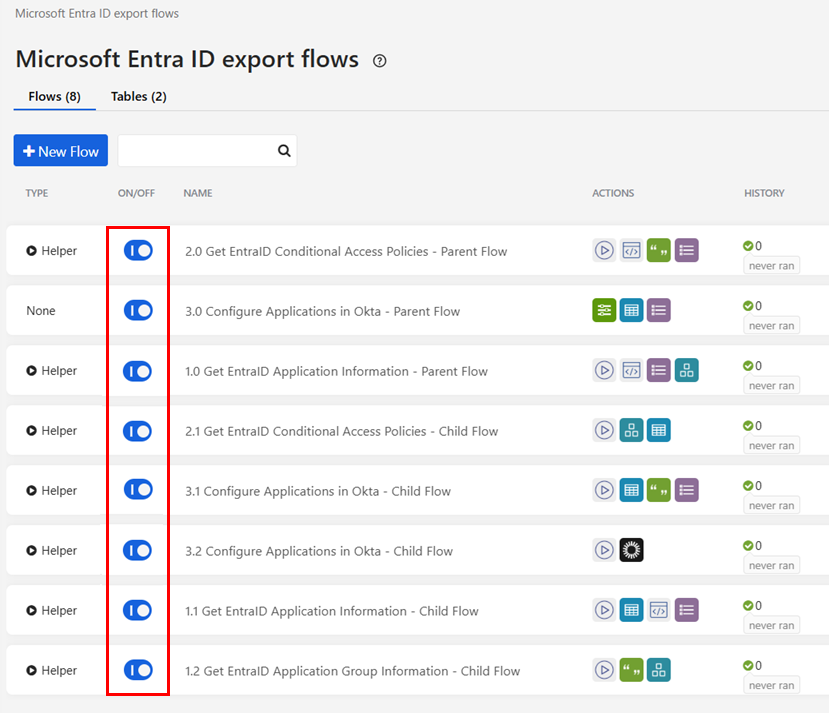
-
On your Workflows home page, click the new folder to view the components of the flow. The folder displays eight flows and two tables.
-
Toggle on each flow.
Create an API Connector connection
-
In the Okta Workflows console, click Connections.
-
Click New Connection. The New Connection dialog opens.

-
Search for and select the API Connector.
-
Click Create.
-
Enter a name for the connector and set the Auth Type to
None.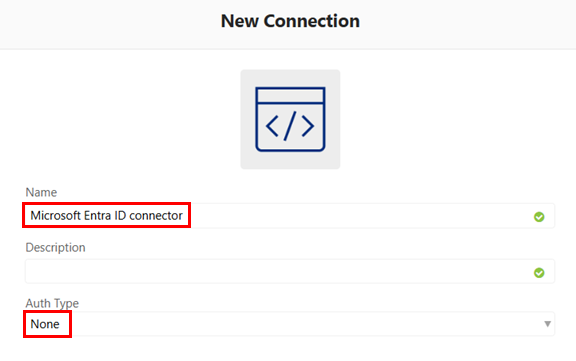
-
Click Create.
Add the API Connector to the Microsoft Entra ID flows
-
In the Okta Workflows, open the folder that contains the Microsoft Entra ID flows.
-
Select a flow.
-
Scroll to the API Connector.
-
Click Choose Connection and select the connection that you created earlier.

-
Repeat these steps for each flow.
Set up the Okta Workflows Connection
-
Sign in to the Workflows and Admin Consoles.
-
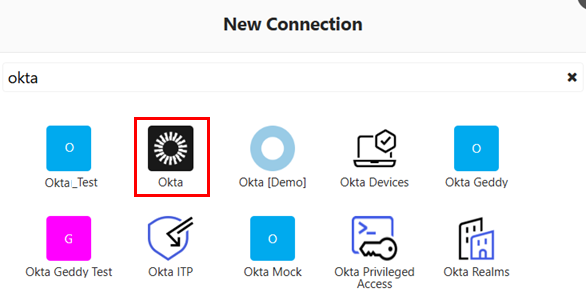
In the Workflows Console, click Connections.
-
Click New Connection. The New Connection dialog opens.
-
Search for and select the Okta connector.
-
In the New Connection window, enter a name and an optional description.
-
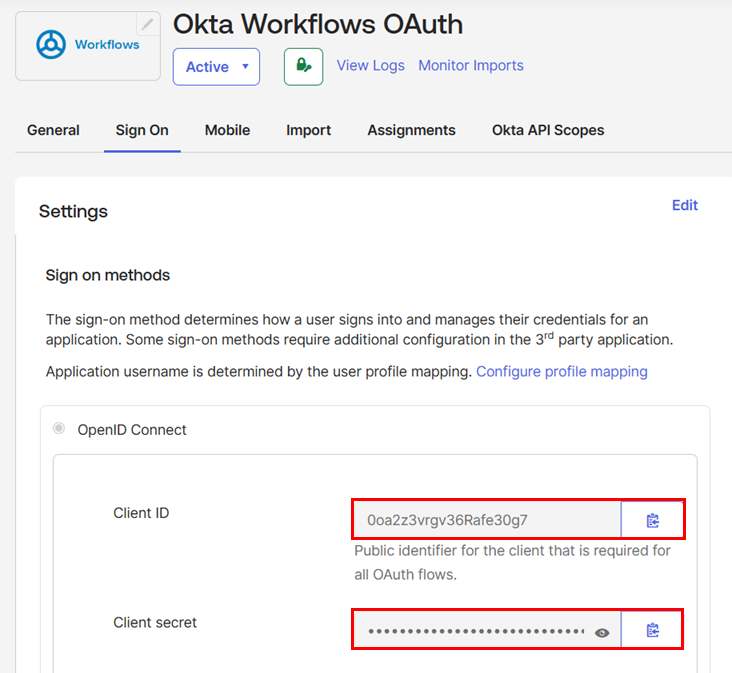
In the Admin Console, go to .
-
Search for and select the Okta Workflows OAuth app.
-
Click the Sign On tab and copy the Client ID and Client secret values.
-
In the Workflows Console, paste the values that you copied into the Client ID and Client Secret fields.
-
Enter the Okta domain without the
https://(for example,atko.okta.com) in the Domain field. -
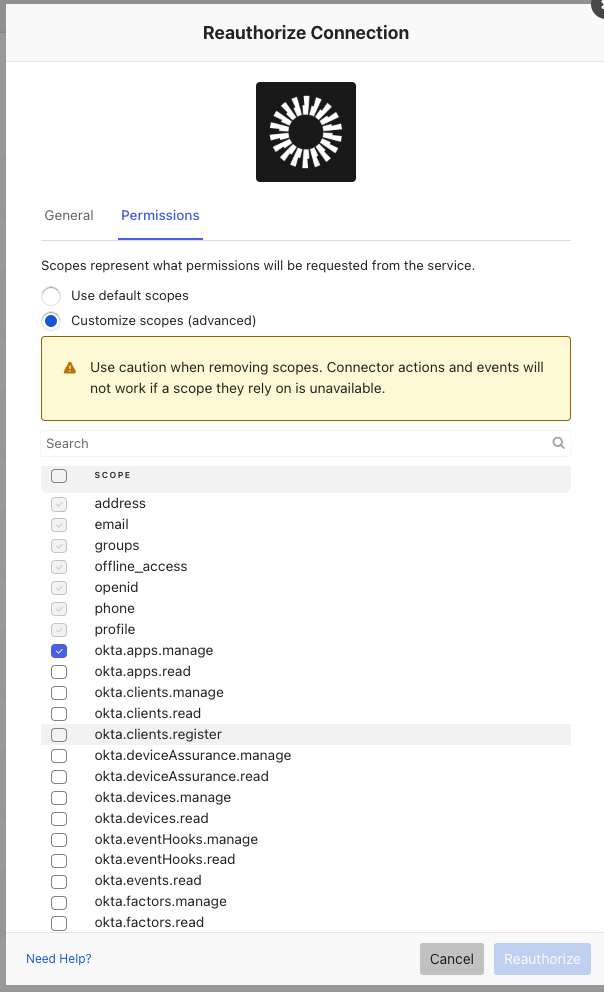
Click the Permissions tab.
-
Select Customize scopes (advanced).
-
Add the following scopes to the connection, and then click Create:
-
okta.apps.manage
-
okta.groups.manage
-
okta.policies.manage
-
Run the export flow
-
In the Workflows Console, open the folder that contains the Microsoft Entra ID export flows.
-
Select the 1.0 Get Entra ID Application Information - Parent Flow.
-
Click Run.
-
Enter the token endpoint, client ID, and client secret values that you copied earlier.
-
Click Run.
-
Select from the export file folder to view the exported data. The table displays the following information:
-
Application Name: The name of the app.
-
ID: A unique identifier for the app in Microsoft Entra ID.
-
App ID: A unique identifier for the app type in Microsoft Entra ID.
-
Entity ID: A unique identifier for a SAML app.
-
ACS or Redirect URL: For SAML apps, this is the URL where the SAML assertion is posted. For OIDC apps, this is the redirect URL where the auth code is posted.
-
Application Protocol: The app protocol type (SAML or OIDC).
-
Group Assignment: The groups the app is assigned to.
- Action: Displays Migrate. Okta creates these apps in your org using the app metadata from Microsoft Entra ID.
-
Okta App ID: Leave this blank. The column displays the app ID after the app is created in Okta.
-
Status: Leave this blank. The column displays a status after the flow completes.
-