Integrate applications
Securing applications is the core of Access Gateway.
Applications are deployed using an architecture similar to that shown in the following Access Gateway application architecture diagram.
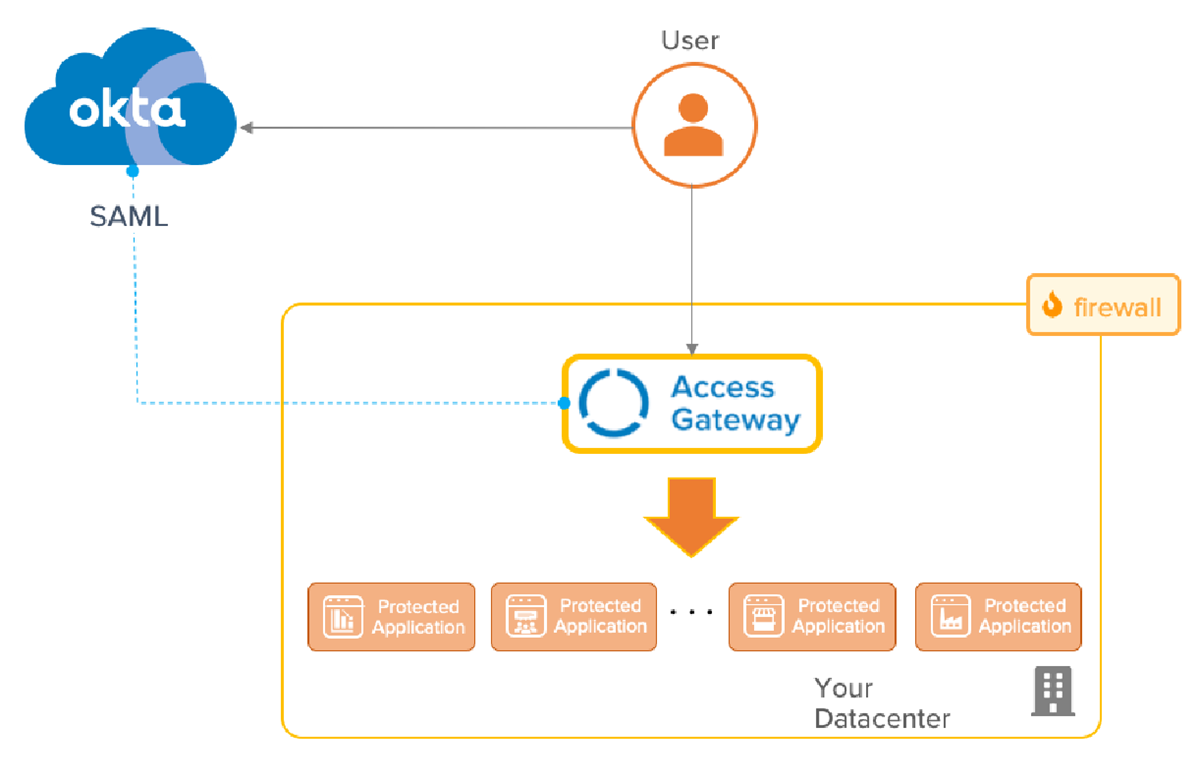
In general, Access Gateway:
- Acts as a reverse-proxy
- Integrates with on-premises application using legacy patterns.
- Has individual SAML contracts and authorization policies for each on-premises application.
- Applications have their own SAML encryption, assertion attributes, session timeouts, MFA policies, and URL authorization.
Each application protected by Access Gateway is configured individually according to its specific needs and requirements.
When creating an application configuration in Access Gateway, there are various application templates available to speed the configuration process. Each application template is geared towards a specific set of application requirements. See Access Gateway supported apps for a list of all supported application types and Supported technologies for a list of all currently supported application versions.
Add sample header application
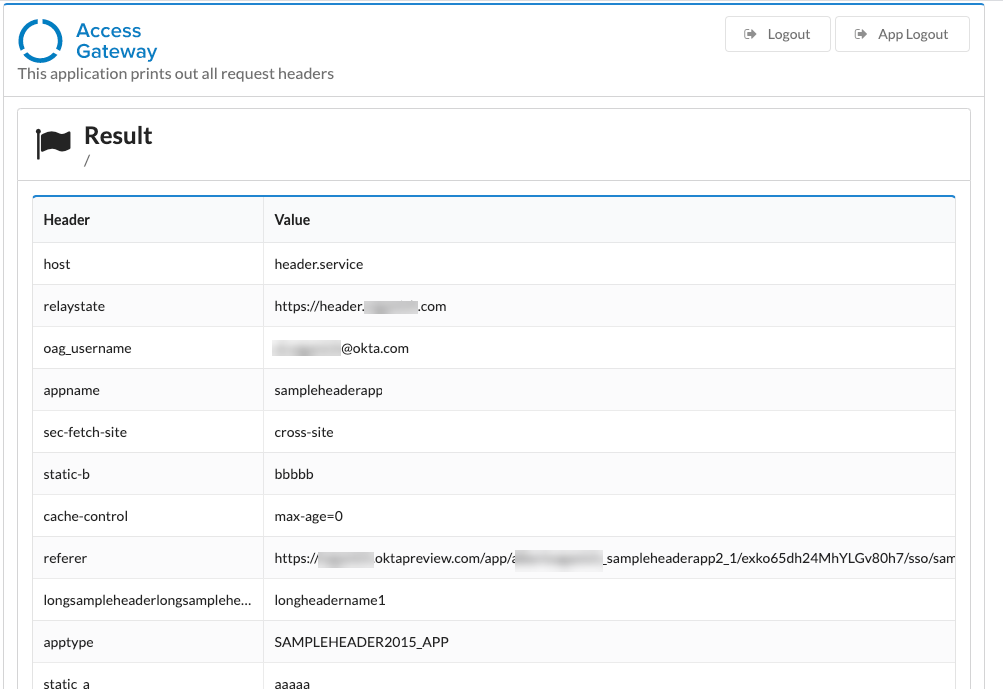
There are many sample applications, in this guide we integrate an example header application. The header app helps you familiarize yourself with how Access Gateway works as well as providing a testing endpoint in case you need to troubleshoot application integration.
Before you begin
Verify the following:
- Access Gateway is installed and configured. See Manage Access Gateway deployment.
- Access Gateway uses your Okta org as an Identity Provider (IdP). See Configure an Identity Provider in Access Gateway.
- You have administrator rights on your Okta org and can create groups and assign applications
- Appropriate DNS entries exist for the application
A best practice for testing a header application is to add header.<yourdomain> to the /etc/hosts for testing purposes. On Windows, you can find this file in c:\windows\system32\drivers\etc\hosts.
This entry should point to the same IP address as uses for Access Gateway. For example:
. . .
10.0.0.1 admin
10.0.0.1 header.myExampleDomain.com
. . .
Create example header application
-
Open the Access Gateway Admin UI console.
Access Gateway creates a default self-signed certificate. This is appropriate for non-production deployments. Proceed past any security exceptions raised by your browser. For production deployments, you can install a valid certificate and these exceptions aren't not needed.
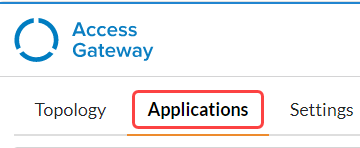
- Click the Applications tab.
- Click Add to add a new application.

-
Select Header Based from the application menu, and click Create.
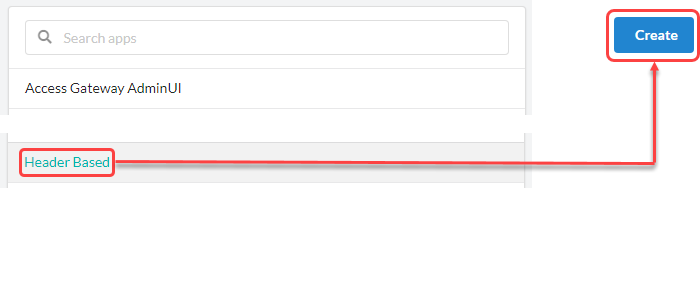
The New Protected Application wizard starts and displays the Essentials pane for the application being added.
-
In the Essentials pane specify the following:
Field Value Label A name for the application.
For example: Example Header ApplicationPublic Domain A fully qualified host name such as header.<your domain>.
For testing, add header.<yourdomain> to /etc/hosts.Protected Web Resource The URL of the protected resources.
For testing, enter http://header.service.spgw.Specifying a protected web resource of header.server.spgw tells Access Gateway to execute the header test suite when executed.
Group Enter the group containing the users who should have access to the application.
For testing this is typically the Everyone group.Description Optional. An appropriate description for your application. -
Review the Settings tab, then click Done.
For more information on the application setting options, see Configure advanced app settings.
Complete the header application configuration
-
Return to the Access Gateway Admin UI console.
- Select the new application and click the pencil icon.

- In the Attributes section, click the +.

- Scroll to the Add new Session Attribute window.
- In the Name field, enter manager.
- For the Value field, select the attribute type as manager.
- Click Okay.
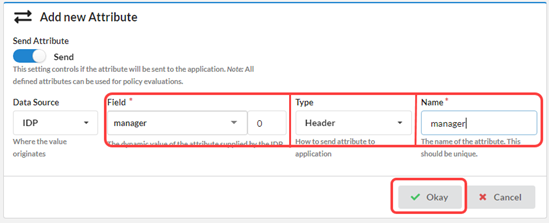
In the Value menu, type in the name of the attribute you want to add, and then click the new attribute in the drop-down box.
- Click Done.
- Confirm that the Header App is displayed as Active in the Protected Applications list.
Test example header application
- In the row containing the application, click the .
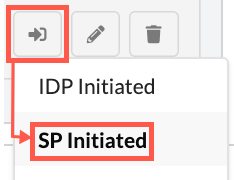
- On the Application page, review and verify that the Header App sent to Okta matches your profile information.
