Workflows Console
The Okta Workflows Console is your home for all tasks that are related to Okta Workflows. Having the key actions and information about your flows in a single interface makes it easy for you to create, change, or troubleshoot your flows and connections.
The console also has useful resources to assist you in understanding how Okta Workflows operates and how you can tailor it to meet your specific scenarios.
Launch the Workflows Console
Before you begin
To access the Workflows Console, an Okta super admin must assign the Okta Workflows app to your user account.
Start this task
There are two ways to launch the Workflows Console:
-
Open the Okta Workflows app from your Okta End-User Dashboard. This method doesn't require access to the Okta Admin Console.
-
In the Okta Admin Console, go to .
New user onboarding
When you sign in to Okta Workflows for the first time, you're guided through a short onboarding process to get you comfortable with the platform. The onboarding includes the following:
-
Questionnaire: You're asked three questions about your goals and the apps that you use. This helps give you the most relevant connections and templates to start.
-
Customized homepage: You're shown introductory templates with pre-built flows that are designed to help get you started. As you start creating more flows, template and connections suggestions update based on your answers to the initial questionnaire.
-
Step-by-step checklist: You can access a step-by-step checklist from the bottom right of the homepage. The checklist helps you accomplish and track important onboarding milestones.
Console interface
When you launch the Okta Workflows Console, it opens to the Home page.
-
Click the app switcher icons to change between the Okta Admin Console, the Okta End-User Dashboard, and the Workflows Console.
-
Use these links to access the different control interfaces for Okta Workflows.
-
Home: Learn about how Okta Workflows operates and how you can use flows to automate your business operations.
-
Flows: Build and execute your flows using the large catalog of events, action, and function cards. See Flows and tables.
-
Connector Builder: Create custom connector projects in Connector Builder.
-
Connections: Create and configure connections for supported third-party services to use with your flows. See Connections page.
-
Templates: Search and view the available Okta Workflows templates. You can copy a template to your org and easily modify it to meet your specific business needs. See Workflows templates.
-
Settings: Manage the available role-based access controls for your Okta Workflows org. This page is only visible to users with assigned roles. See Manage Workflows org roles.
-
-
Click the help icon for links to the Okta Workflows help documentation, either through in-app help or in a separate browser window. There's also a link to the Okta Ideas site where you can submit product ideas or feedback.
-
This area displays the account that you're currently using, along with the name of your Okta org.
Click the arrow icon for links to your usage details or to sign out of the Workflows Console.
-
The New Flow button allows you to immediately create a flow from the Home page. You can create a blank flow or use a template as a starting point.
-
The Usage and plan limits dashboard displays the number of active flows in your Workflows org, and the number of tables currently in use. The progress bars indicate the number of remaining flows and tables available according to your subscription. Super admins can use the dashboard to contact the Okta sales team and get more flows by upgrading their plan.
-
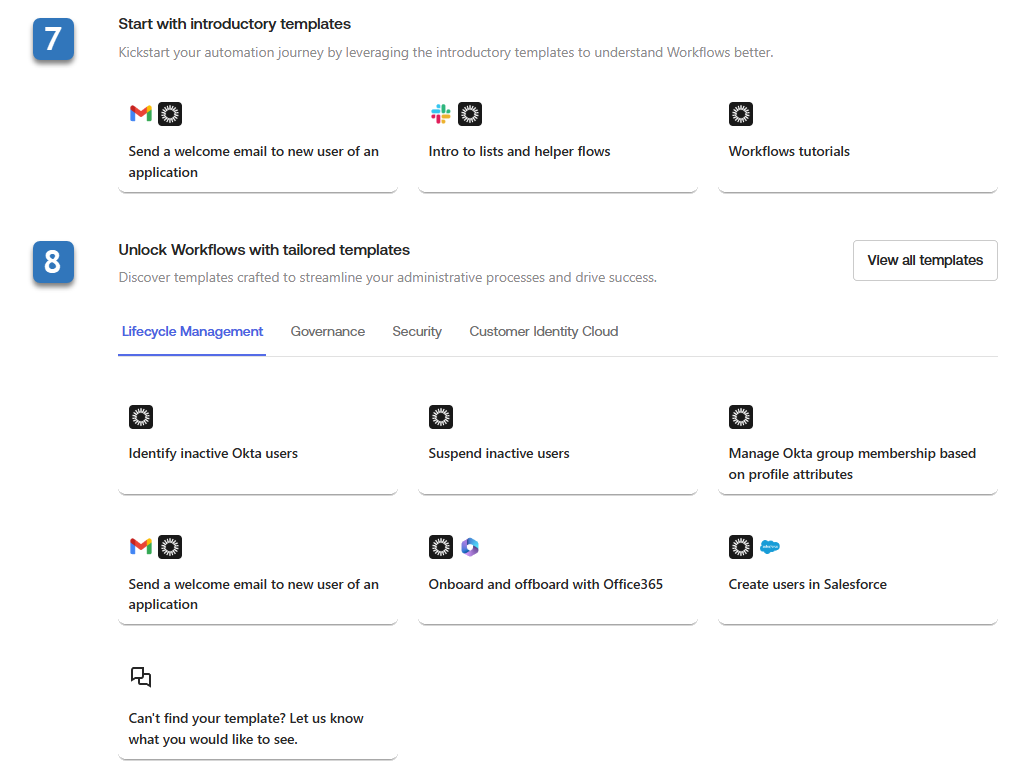
For users who are new to Okta Workflows, there are introductory templates to help you quickly learn about flows.
-
For experienced users, there are tailored templates covering popular use cases, categorized by business goals. You can use these templates to understand common examples and modify them to fit your specific needs.
-
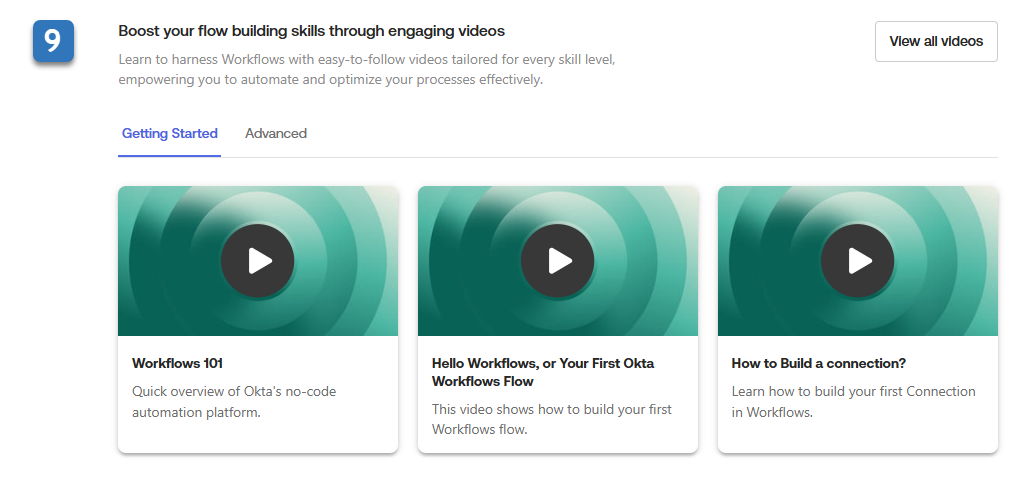
Use the Getting Started and Advanced tabs to access educational videos and tutorials. These show you how to use Okta Workflows and how to maximize its potential for your business.
-
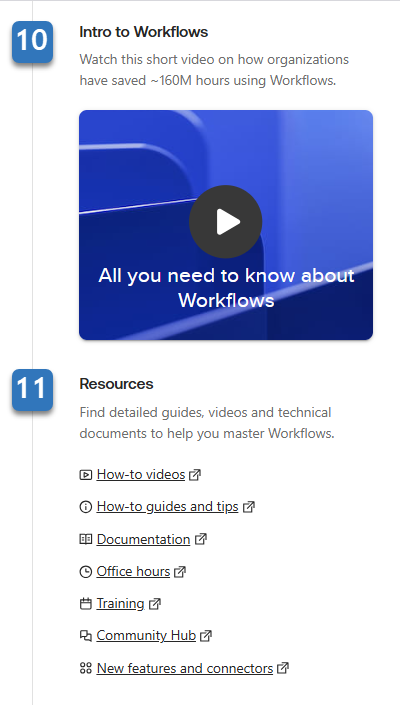
A video introduction to Okta Workflows to help you to understand and envision the impact that flows can have on your business processes.
-
The Resources section links to Workflows content and education options:
-
Online documentation and the latest release notes
-
Instructional guides, blogs, and videos from the Workflows community team
-
For admins with Okta Workflows cost-based plans, consult with Okta experts in an open office hours format
-
Free and paid training options through Okta Training
-
More resources through the Okta builder community
-


