Configure Okta as a claims provider in SharePoint (On-Premises)
After you add SharePoint (On-Premises) to your org, configure it to use Okta as a claims provider.
Before you begin
Complete Add SharePoint (On-Premises) in Okta.
- Ensure that the user account that has permissions to modify the SharePoint farm.
-
Ensure that you have the SharePoint Management Shell or SharePoint PowerShell snap-in so that you can run PowerShell commands on your SharePoint Server. Add the required snap-in to an existing PowerShell prompt by entering the following command:
Add-PSSnapIn Microsoft.Sharepoint.Powershell
Configure mappings
You can configure four attributes (Username, First Name, Last Name, and Email) for SharePoint. Wildcard matches are allowed for any prefix match of First Name, Last Name, and Email. This includes both the Okta user profile attributes and the App user profile attributes.
To configure mappings, go to .
- If you set the search scope level as
OKTAand the identifier claim asuserName, don't customize the mapping for the app user's username. - If you set the search scope level as
APP, don't customize the mappings for an app user'sfirstName/lastName/emailattributes, and don't leave those fields empty.
Validate Okta added as a claims provider
After you complete the installation procedure, Okta should appear in the Trusted Identity Provider list on the SharePoint Central Administration console.
- Go to .
-
Verify that Okta appears as a Trusted Identity Provider.
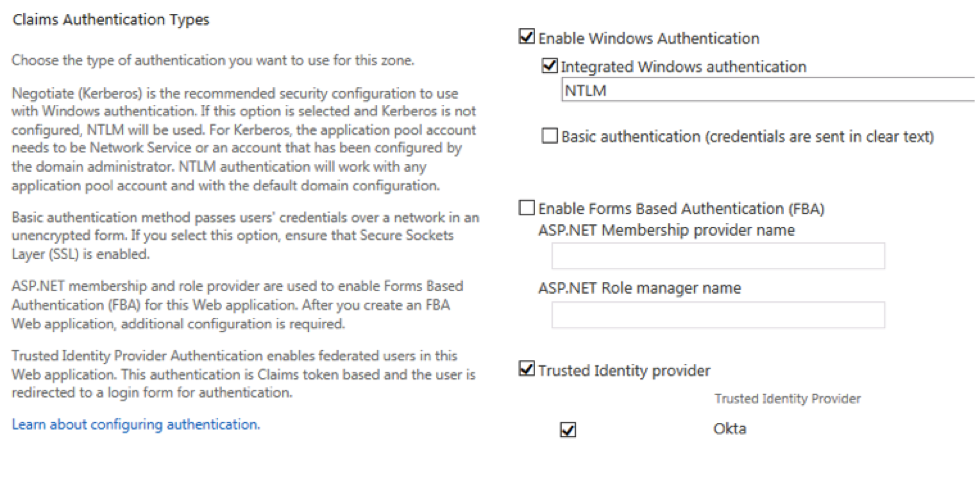
Make sure that you disable the Okta Identity Provider whenever you install, uninstall, or update the Okta People Picker. See Uninstall Okta People Picker and Okta Authentication.